DIY Textile Art
Looking for a unique and easy DIY art project? I have one for you! This framed textile art took less than five minutes to complete. The options are limitless and you can customize this art to your home decor.

This post contains affiliate links, where I may receive commission from your clicks or purchases. Please read my full disclosures here.
Inspiration
Before I go any further, I have to give credit to my friend Dani over at the Gold Coast Canvas for this idea. She has two pieces in her home that I have admired for several months. When I saw her Instagram stories detailing her framed linen textiles, I was shocked. Instantly the wheels started turning in my mind and I decided to give it a try in my own home.

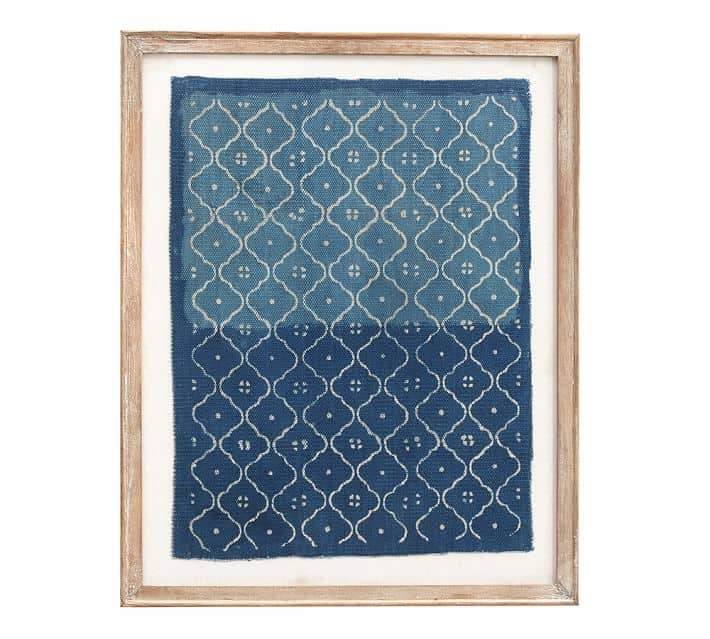
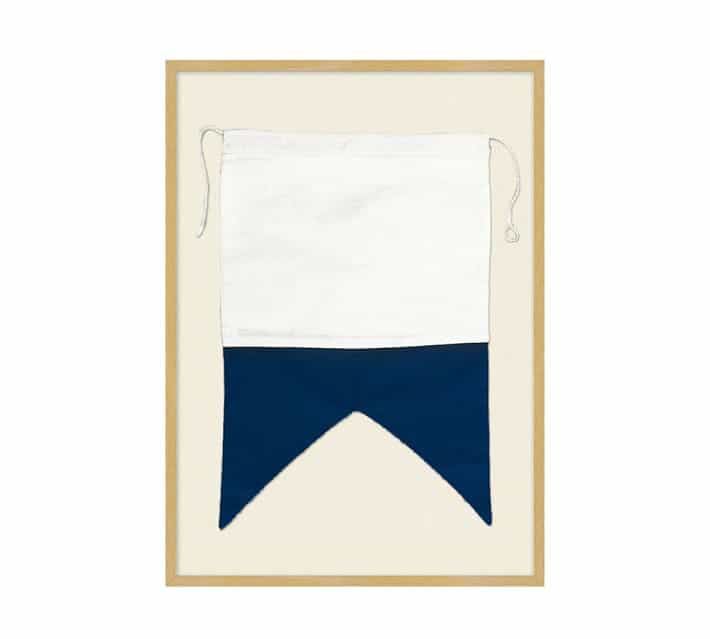
I started scouring the internet for “framed linens” and came across these beautiful pieces of art, with very expensive price tags.


Frames
First, I measured the intended space and chose a frame that complimented our decor. I knew I needed something tall, so I went with a large frame from Frame It Easy. I have also used their frames in the shared kid’s room and the nursery. Here are the exact specifications for my frame:
| Frame Art Size: 23″ x 35″ Outside Frame Size: 25″ x 37″ Style: Derby, in Wheat Cover: Clear Acrylic Backing: Acid Free Foamcore |

You can use the code AMY to receive 10% off of your frame from Frame It Easy here. I also linked some other great options for your frame needs below.
Napkins
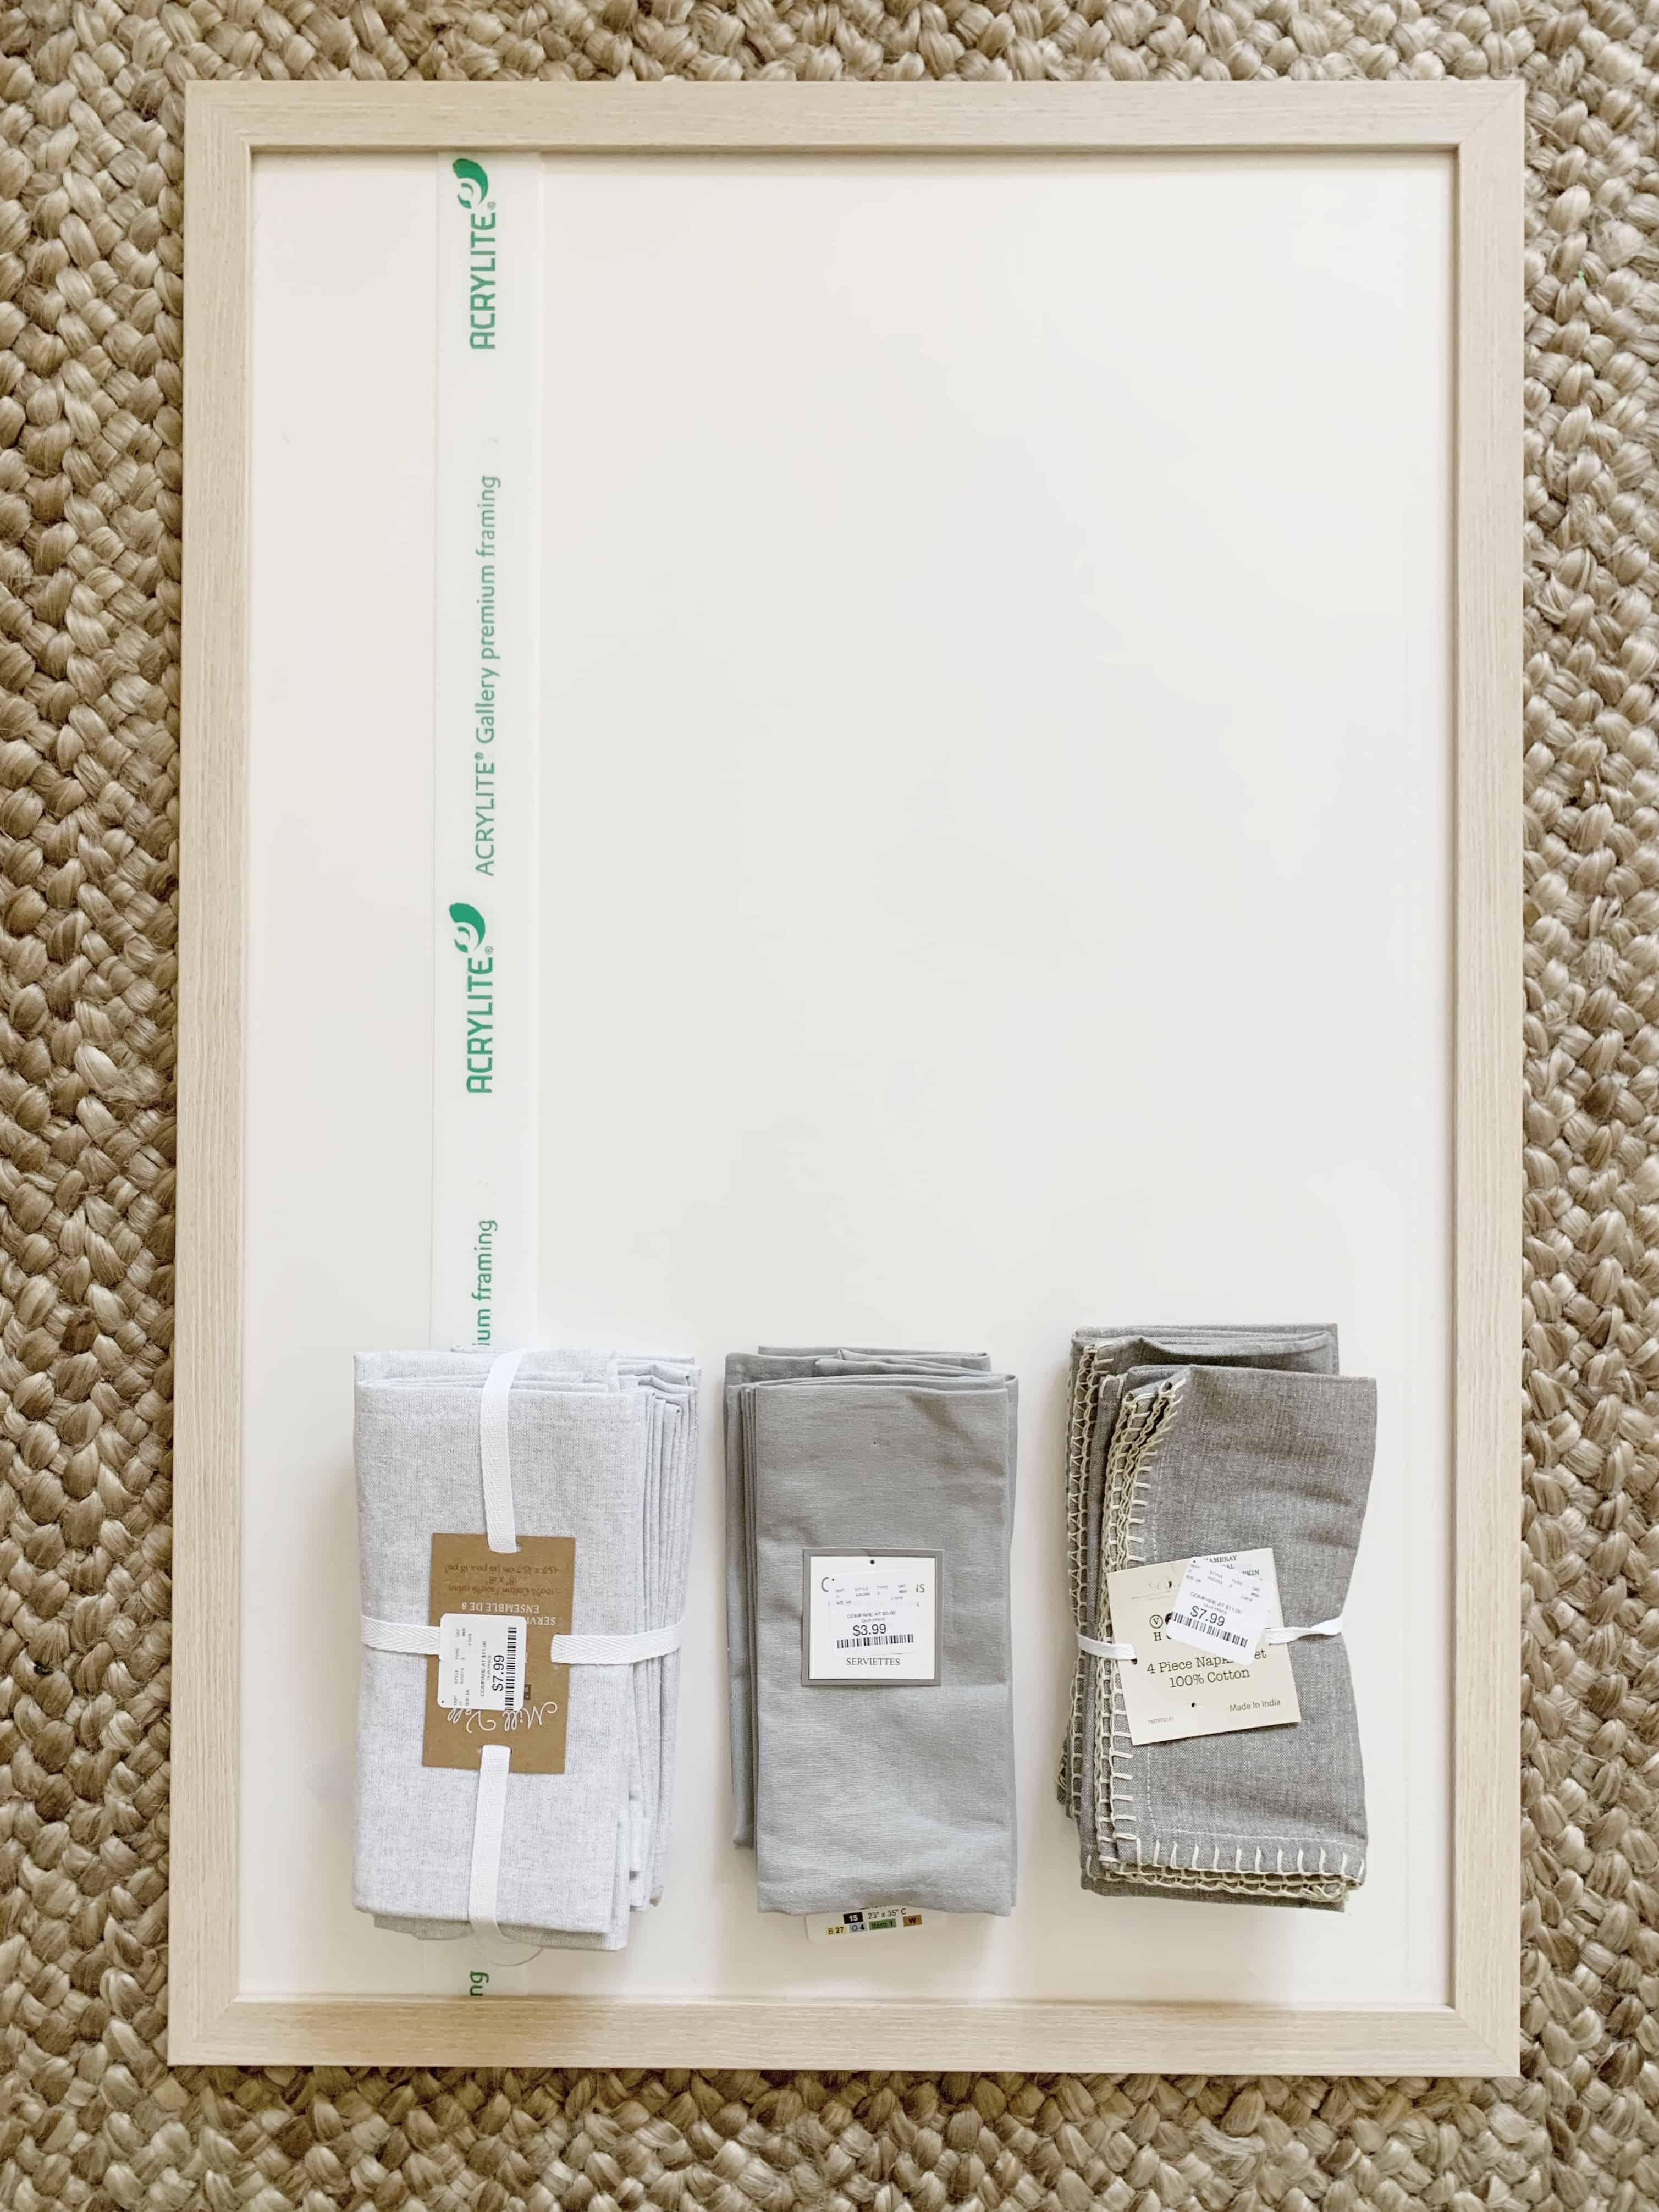
Next, I found several linen napkins online that I loved. I found a few suppliers on Etsy that had different sizes and colors available. However, I could not land on the perfect fit for my foyer piece, so I searched my local Home Goods. I planned on layering an abstract landscape print in front of the textile art, so I opted for something simple without a pattern. Here are some pretty options I found during my search online and they are reasonably priced. I love that I can change it out with the change of seasons and decor trends.
Instructions
Items Needed

- Frame, preferably with a white or off-white foam back piece.
- Foam poster board sized to fit your frame (if the foamcore back piece does not work).
- Fabric glue or double sided tape, I used 9001 adhesive because it was all I had at home on production day.
- Napkins (I used 18″x18″ sizing).
| Frame Art Size: 23″ x 35″ Outside Frame Size: 25″ x 37″ Style: Derby, in Wheat Cover: Clear Acrylic Backing: Acid Free Foamcore |
Creating Your Art Piece

- Prep your textile by steaming or ironing it to get all of the wrinkles out.
- Measure and mark lightly where you would like your textile to go.
- Using glue or double sided tape, attach the textile to your foam backboard. Use caution if using glue and do not apply too much of the product or it will run and cause ripples on your backboard.
- Re-assemble your frame and you’re done!


Go For It
Like I said before, the options are limitless. You can use patterns. try using two textiles. You can fold them into triangles. Have a favorite college flag? Use it! Find a bunting with your favorite colors and frame it for a nursery art piece. Now go be creative and find something fun to frame, then send me the end result! I would love to see your framed textile art. Have a great Friday!


