Stripping & Bleaching Furniture
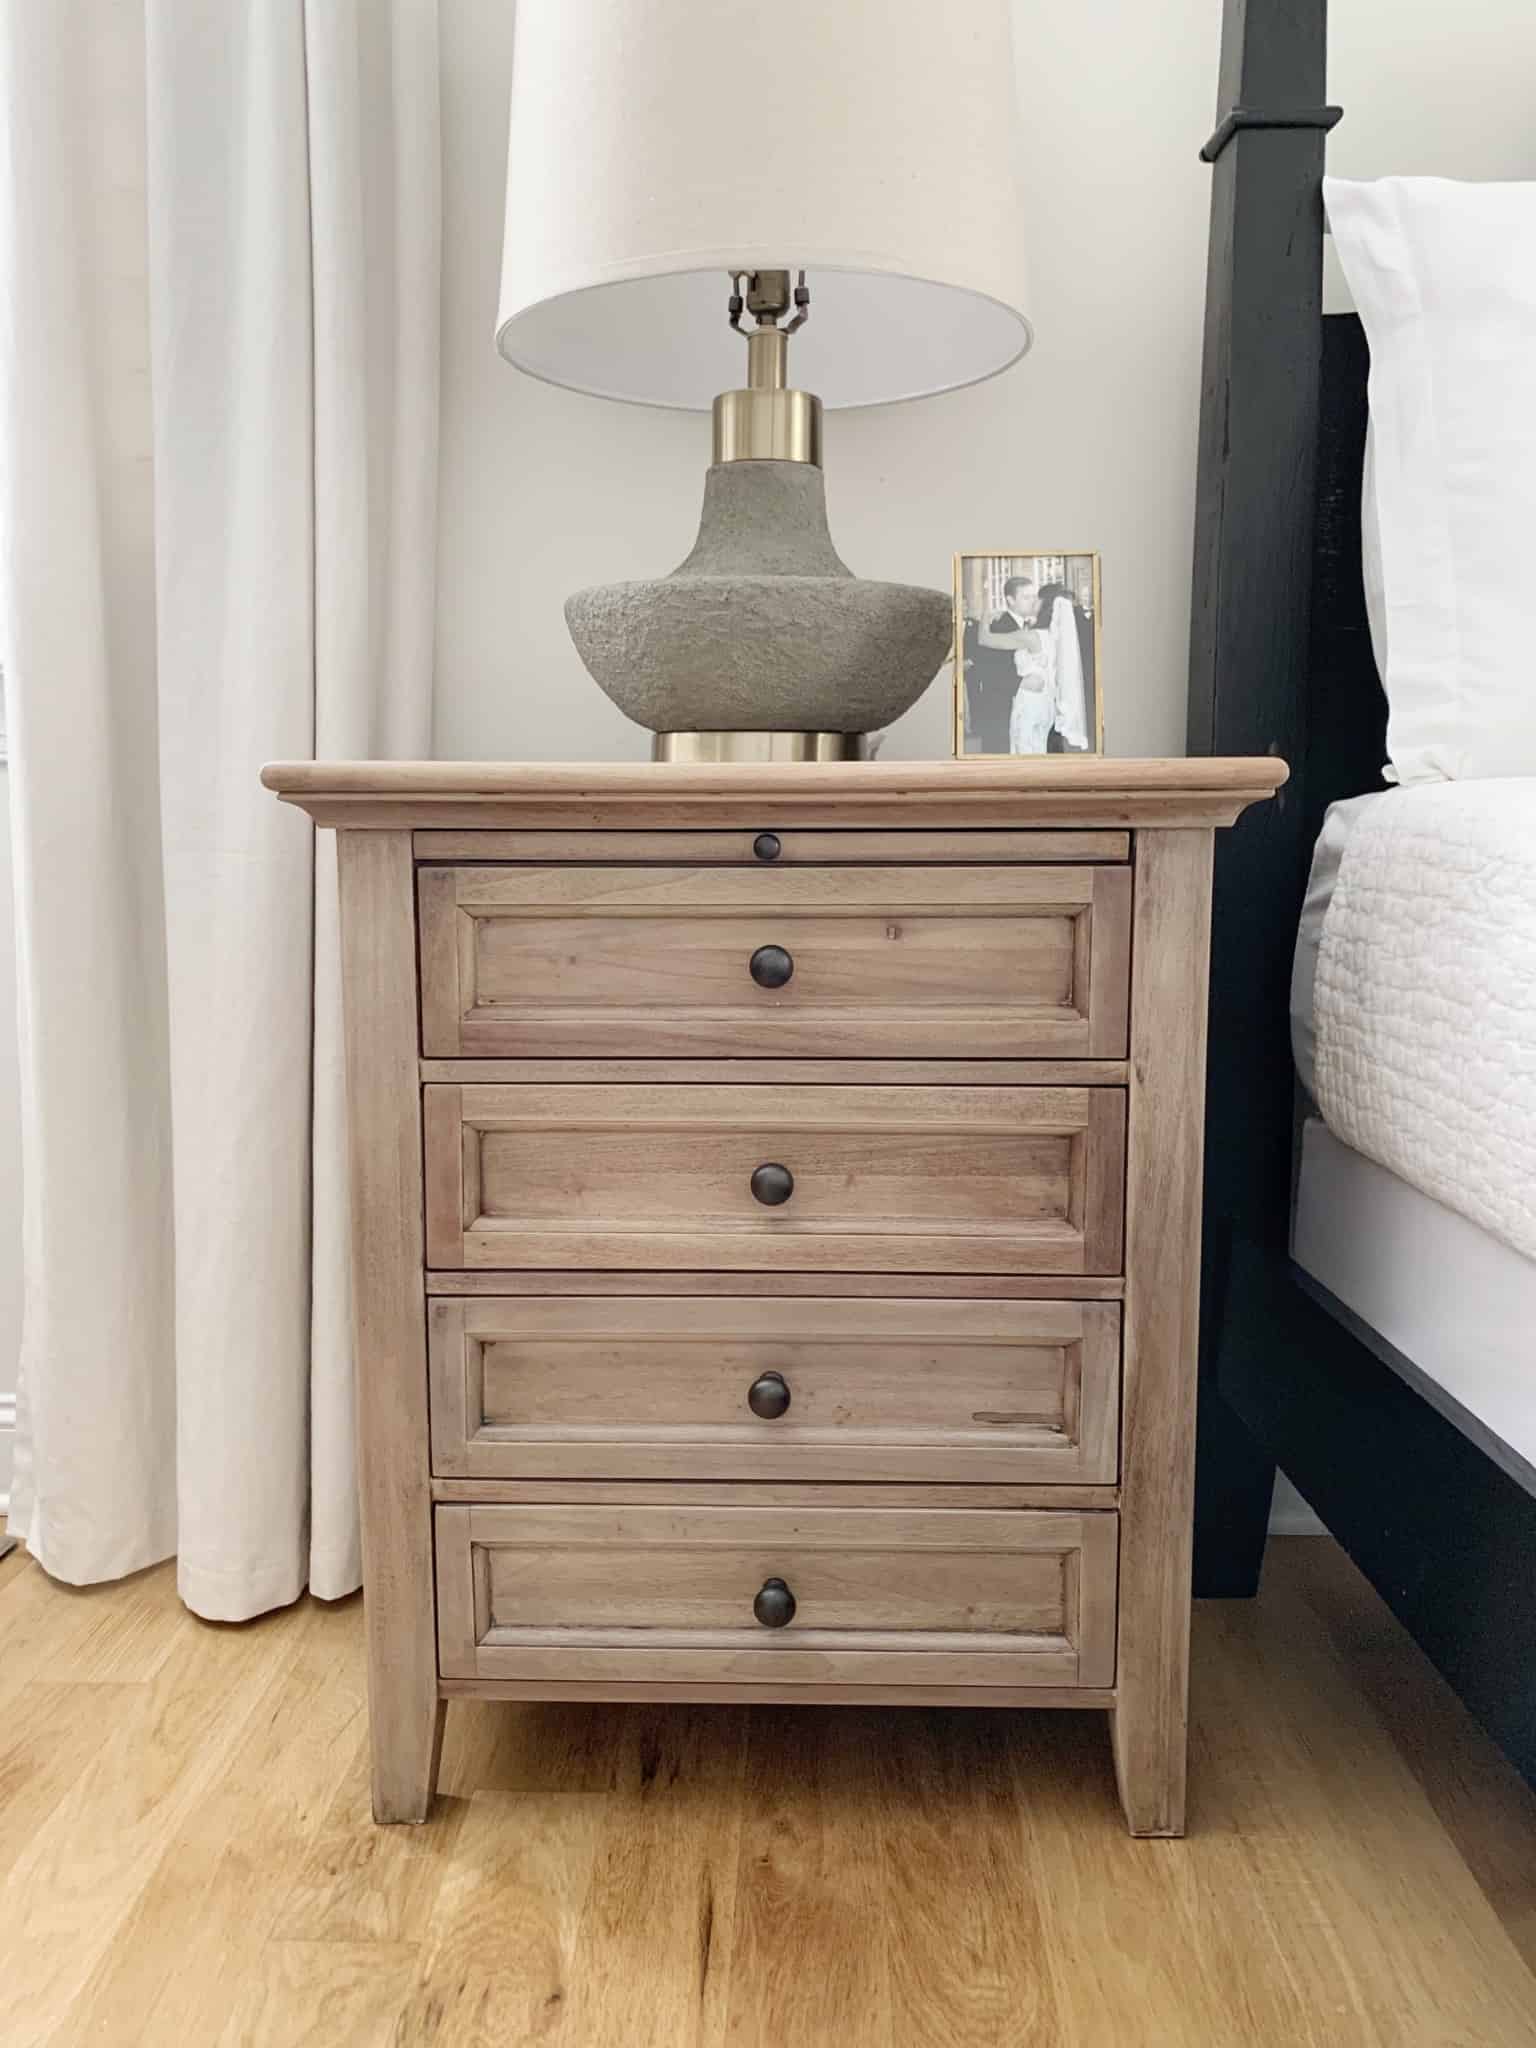
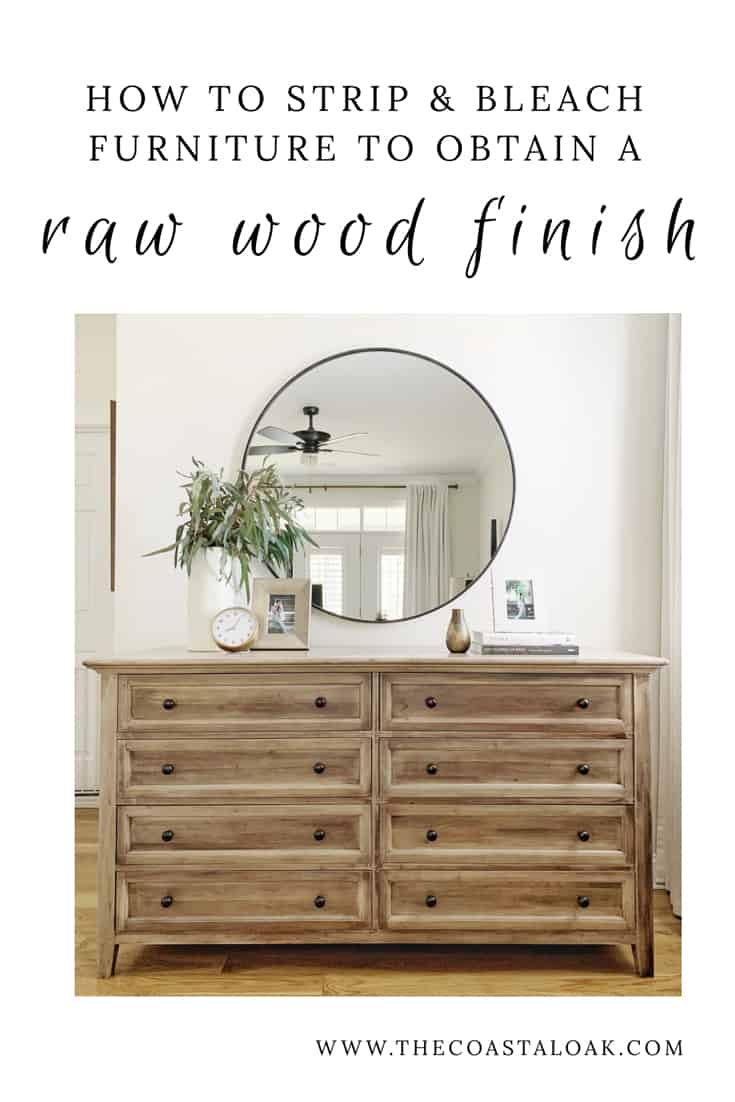
I absolutely love the look of natural wood in home decor, so it’s no surprise that I have wanted to trade in our bedroom furniture for a while now. We lucked out five years ago by purchasing a Pottery Barn Hudson set, a dresser and two nightstands, from a Craigslist seller for $400. The dresser still retails on the Pottery Barn site for $1799. What a steal! Only catch? They were all dark and red toned, which didn’t mix well with my home. I set out to strip and bleach these down, in efforts to achieve a natural raw wood color, like natural oak. Have you considered stripping furniture? Here’s how I did it!
The post contains affiliate links, where I may make commissions from your clicks and purchases. Read my full disclosures here.
Items Needed
- Household Cleaner
- Rags (you will need several rags)
- Chemical proof gloves and masks
- Water bucket and soft brush or sponge
- Saran or cling wrap
- Citristrip
- Plastic scraper or plastic putty knife
- Small wastebasket for stripping materials
- Klean Strip Afterwash
- Household Bleach (I used Clorox Splashless to cut down on streaks and running)
- Electric sander with 220 – fine grit paper (optional)
- 220 – fine grit sand paper blocks, at least two
- Household Vinegar
- Miniwax Weathered Oak (stain optional and specific to your project)
- Miniwax Polycrylic in Clear Matte
- Wax paint brush
Prep Your Furniture
The first step is emptying out your drawers, hello mess, and removing the hardware. Then, clean it all really well with household cleaner.

Stripping Furniture
Smelly & Messy
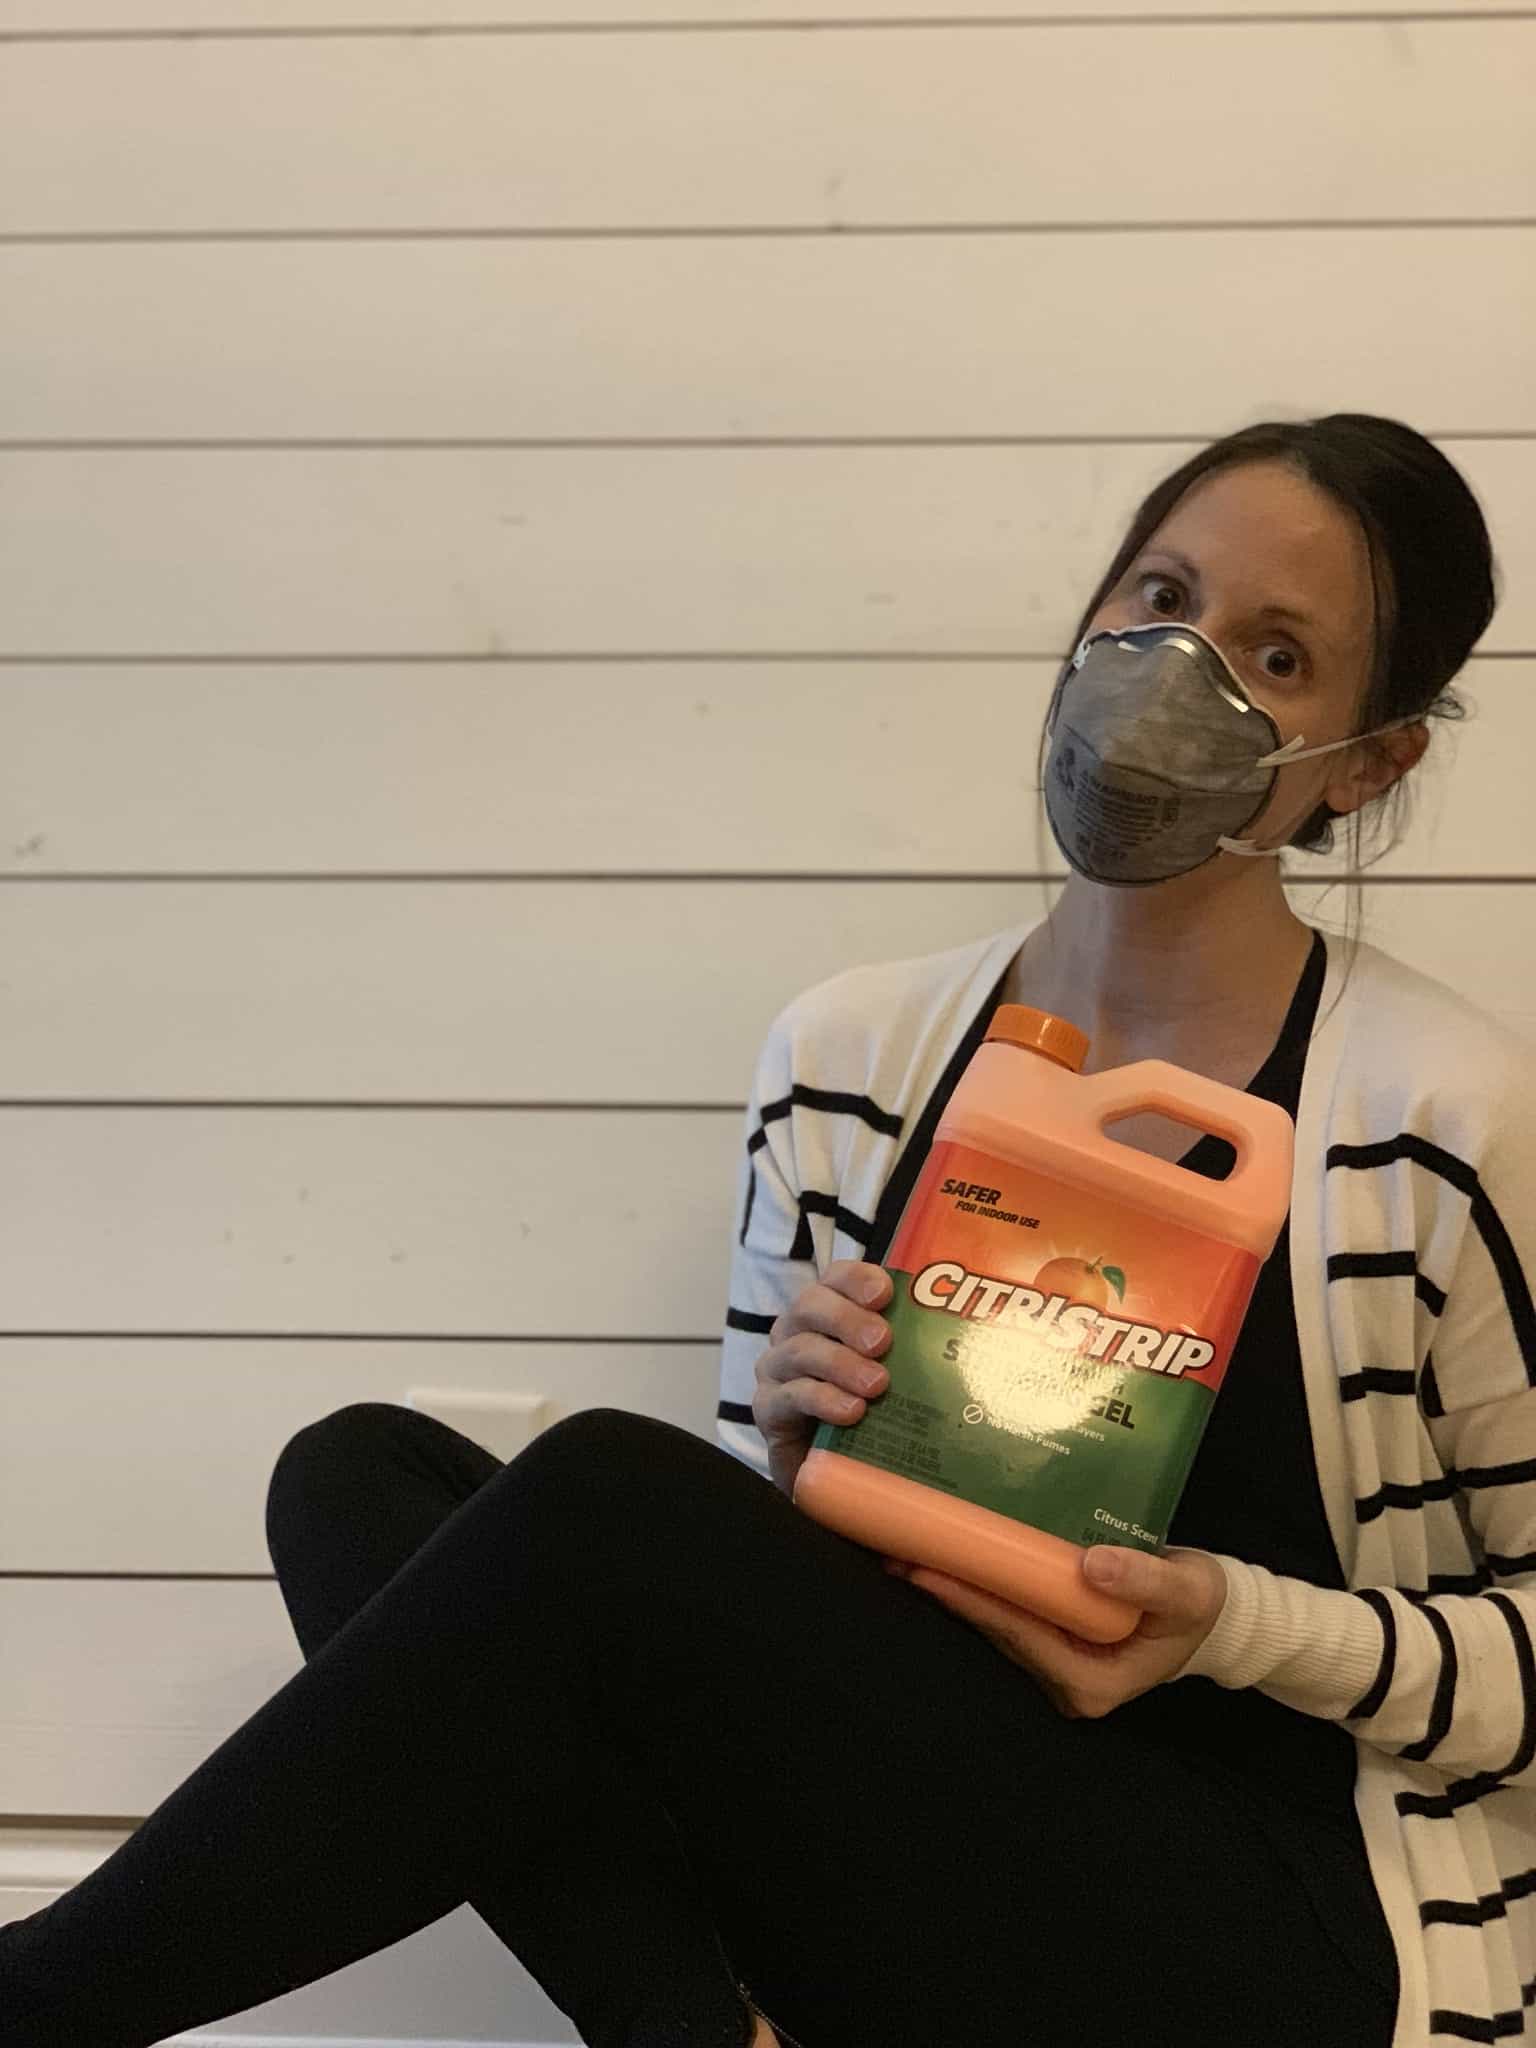
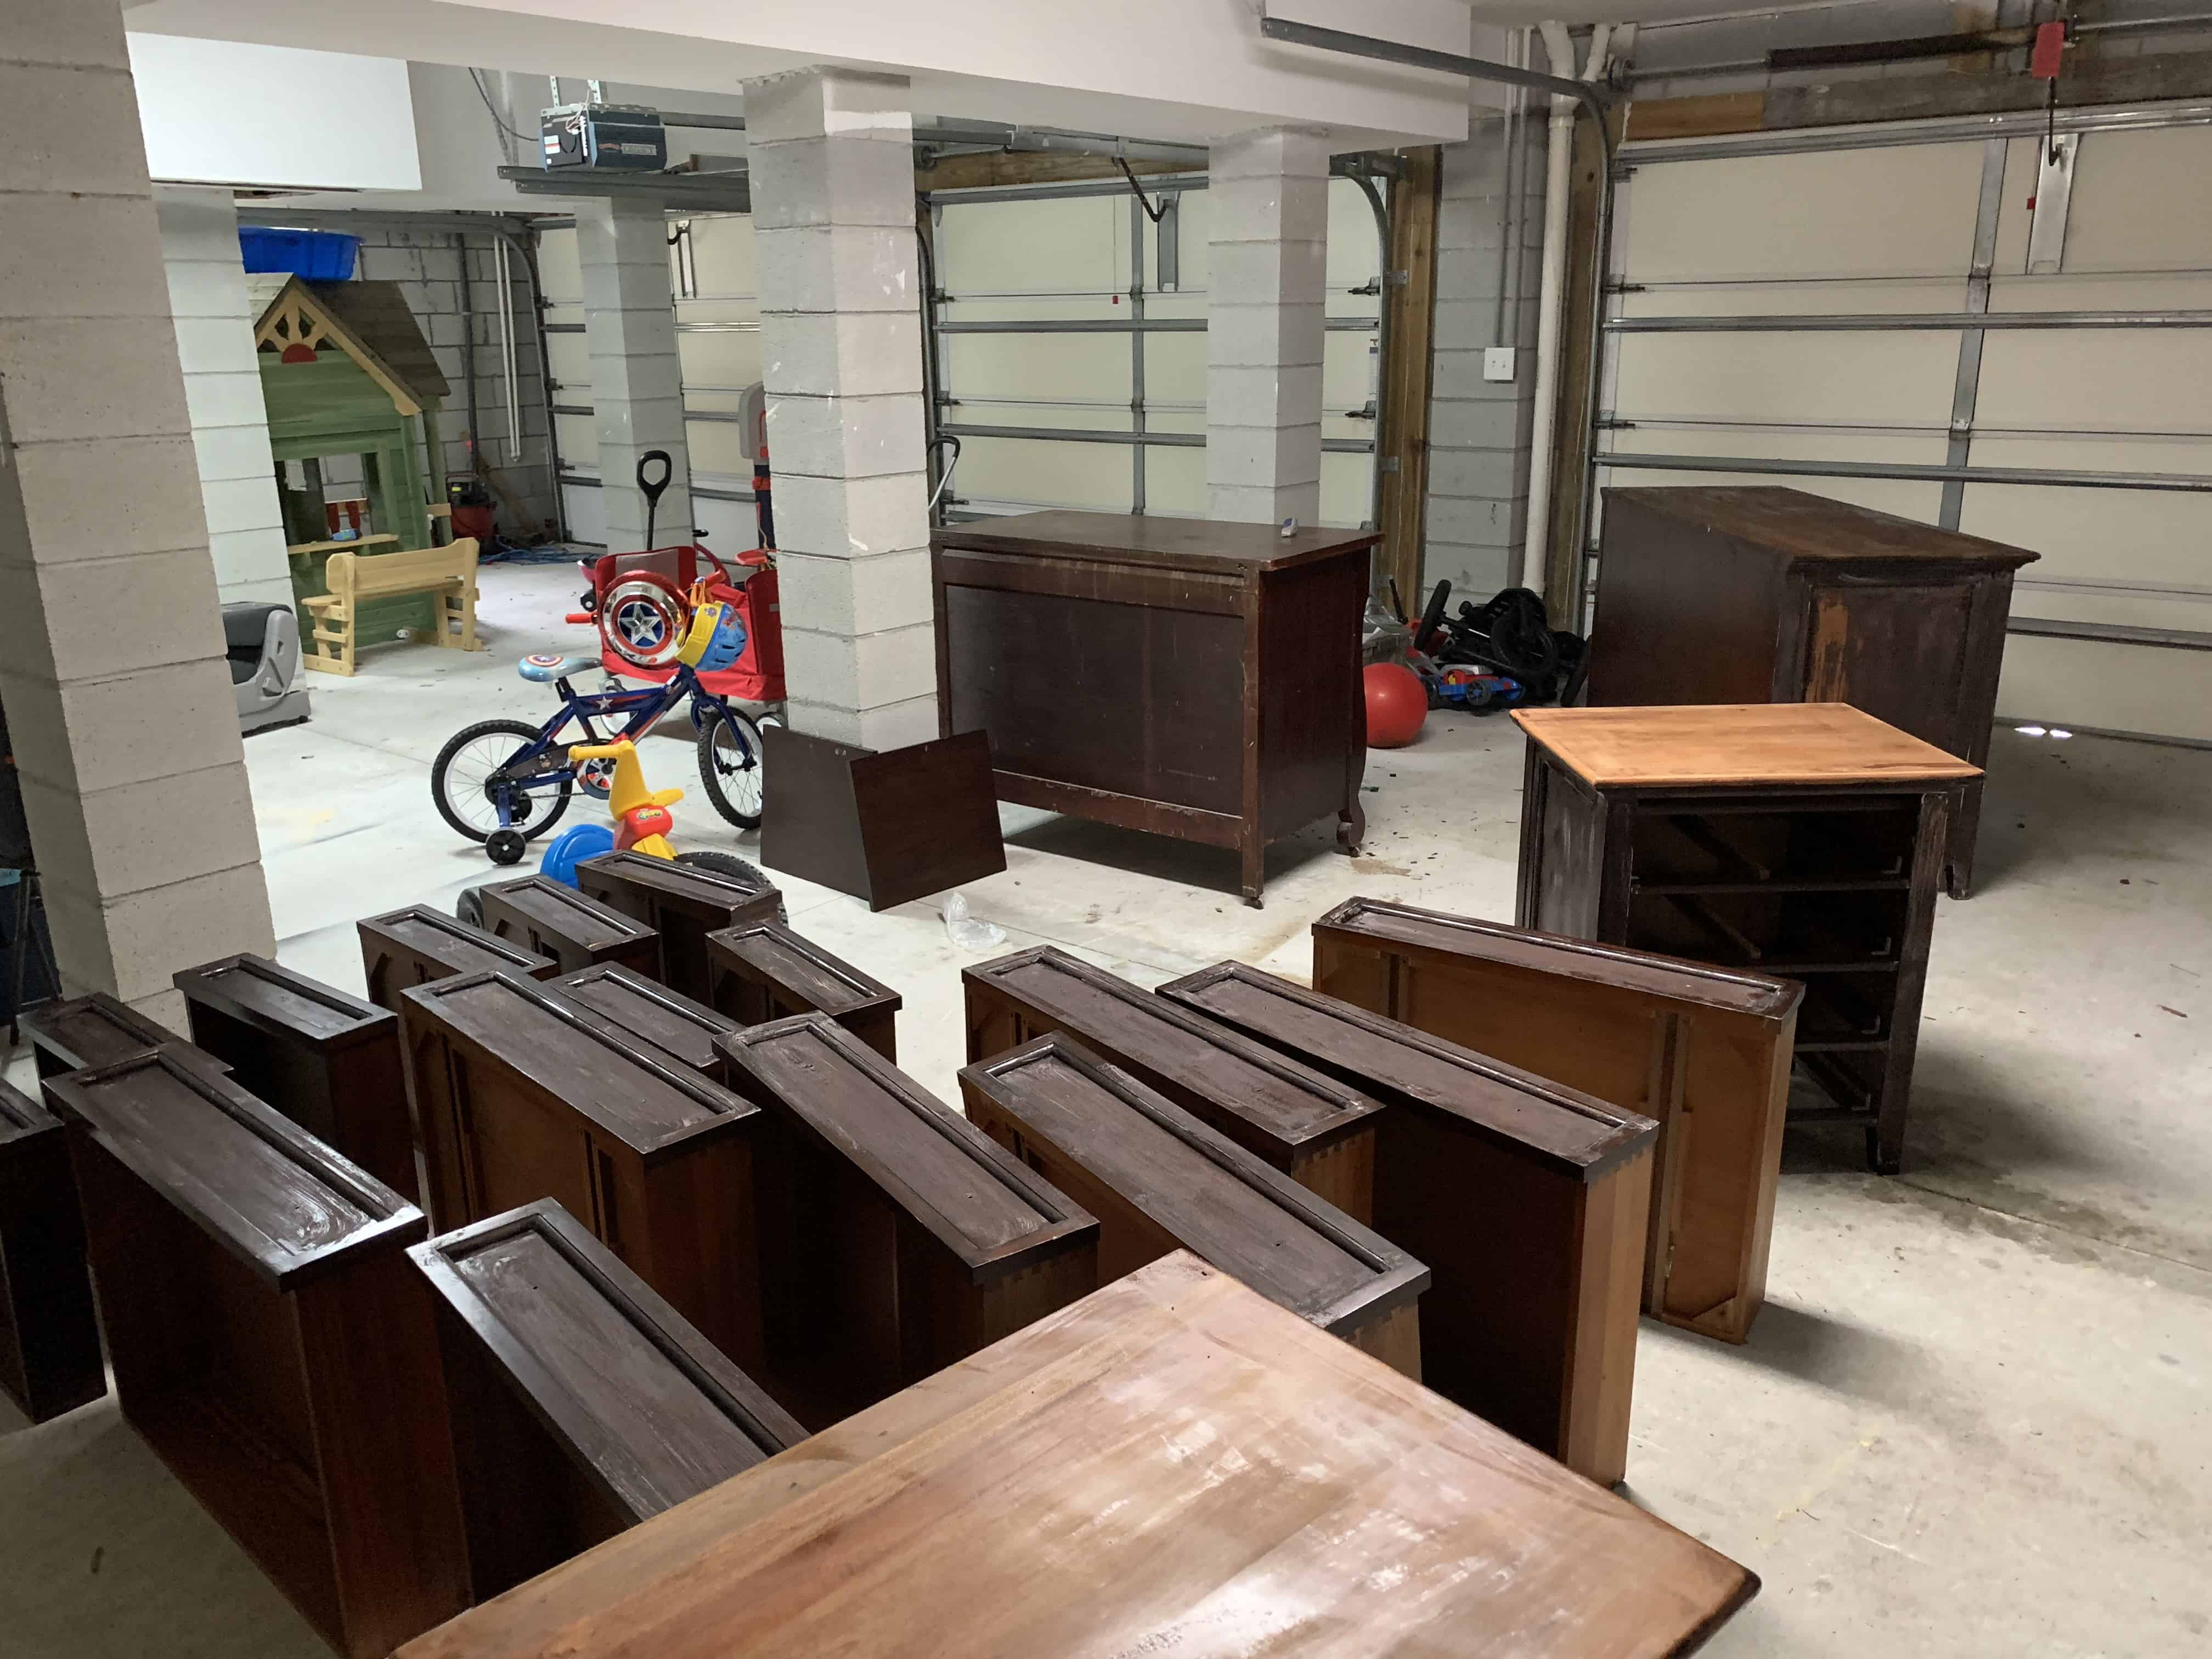
Next is the fun part. If you follow me on a Instagram, then you know this was my least favorite part. One, ignore the label, this stuff does smell a bit. Make sure you’re in a ventilated room or move the furniture to your garage with the doors open. Second, stripping furniture is MESSY! A lovely ooey-gooey, sticky gunk is going to come off of your furniture. You must have your floor projected and be prepared to trash your clothes.
The Fun Begins
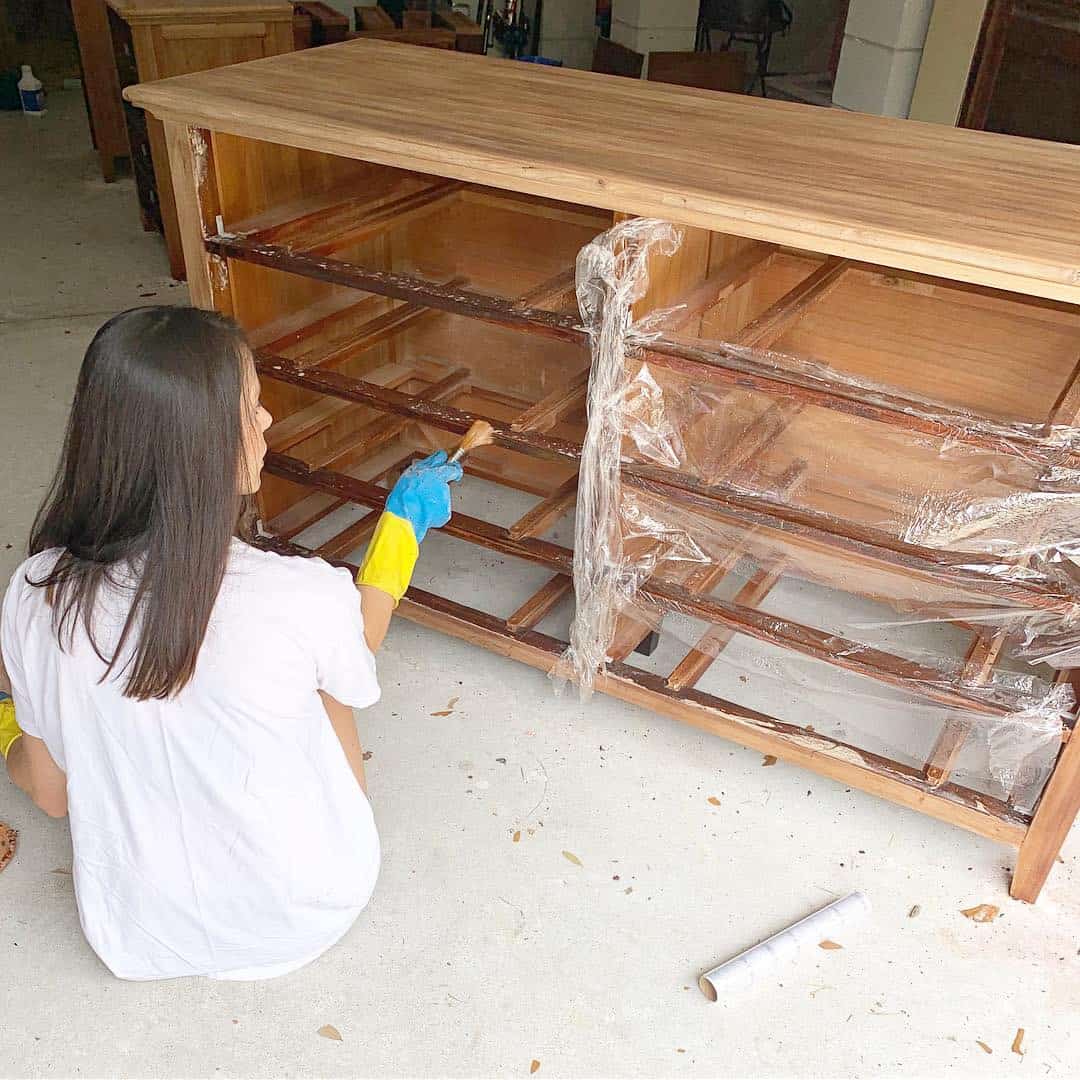
Using a paintbrush, paint on a thick layer of Citristrip. Work in sections and cover in Saran Wrap. Let it sit for 20 minutes, max. Gently, use the scrapper to remove the first layer.

Key tip, do NOT let the Citristrip dry out, hence the Saran wrap. If you cannot scrape and it appears white, it is dry and you will need to repeat the process. The instructions recommend leaving it on for hours, but that did not work for me. Once it was dry, it was difficult to scrape.

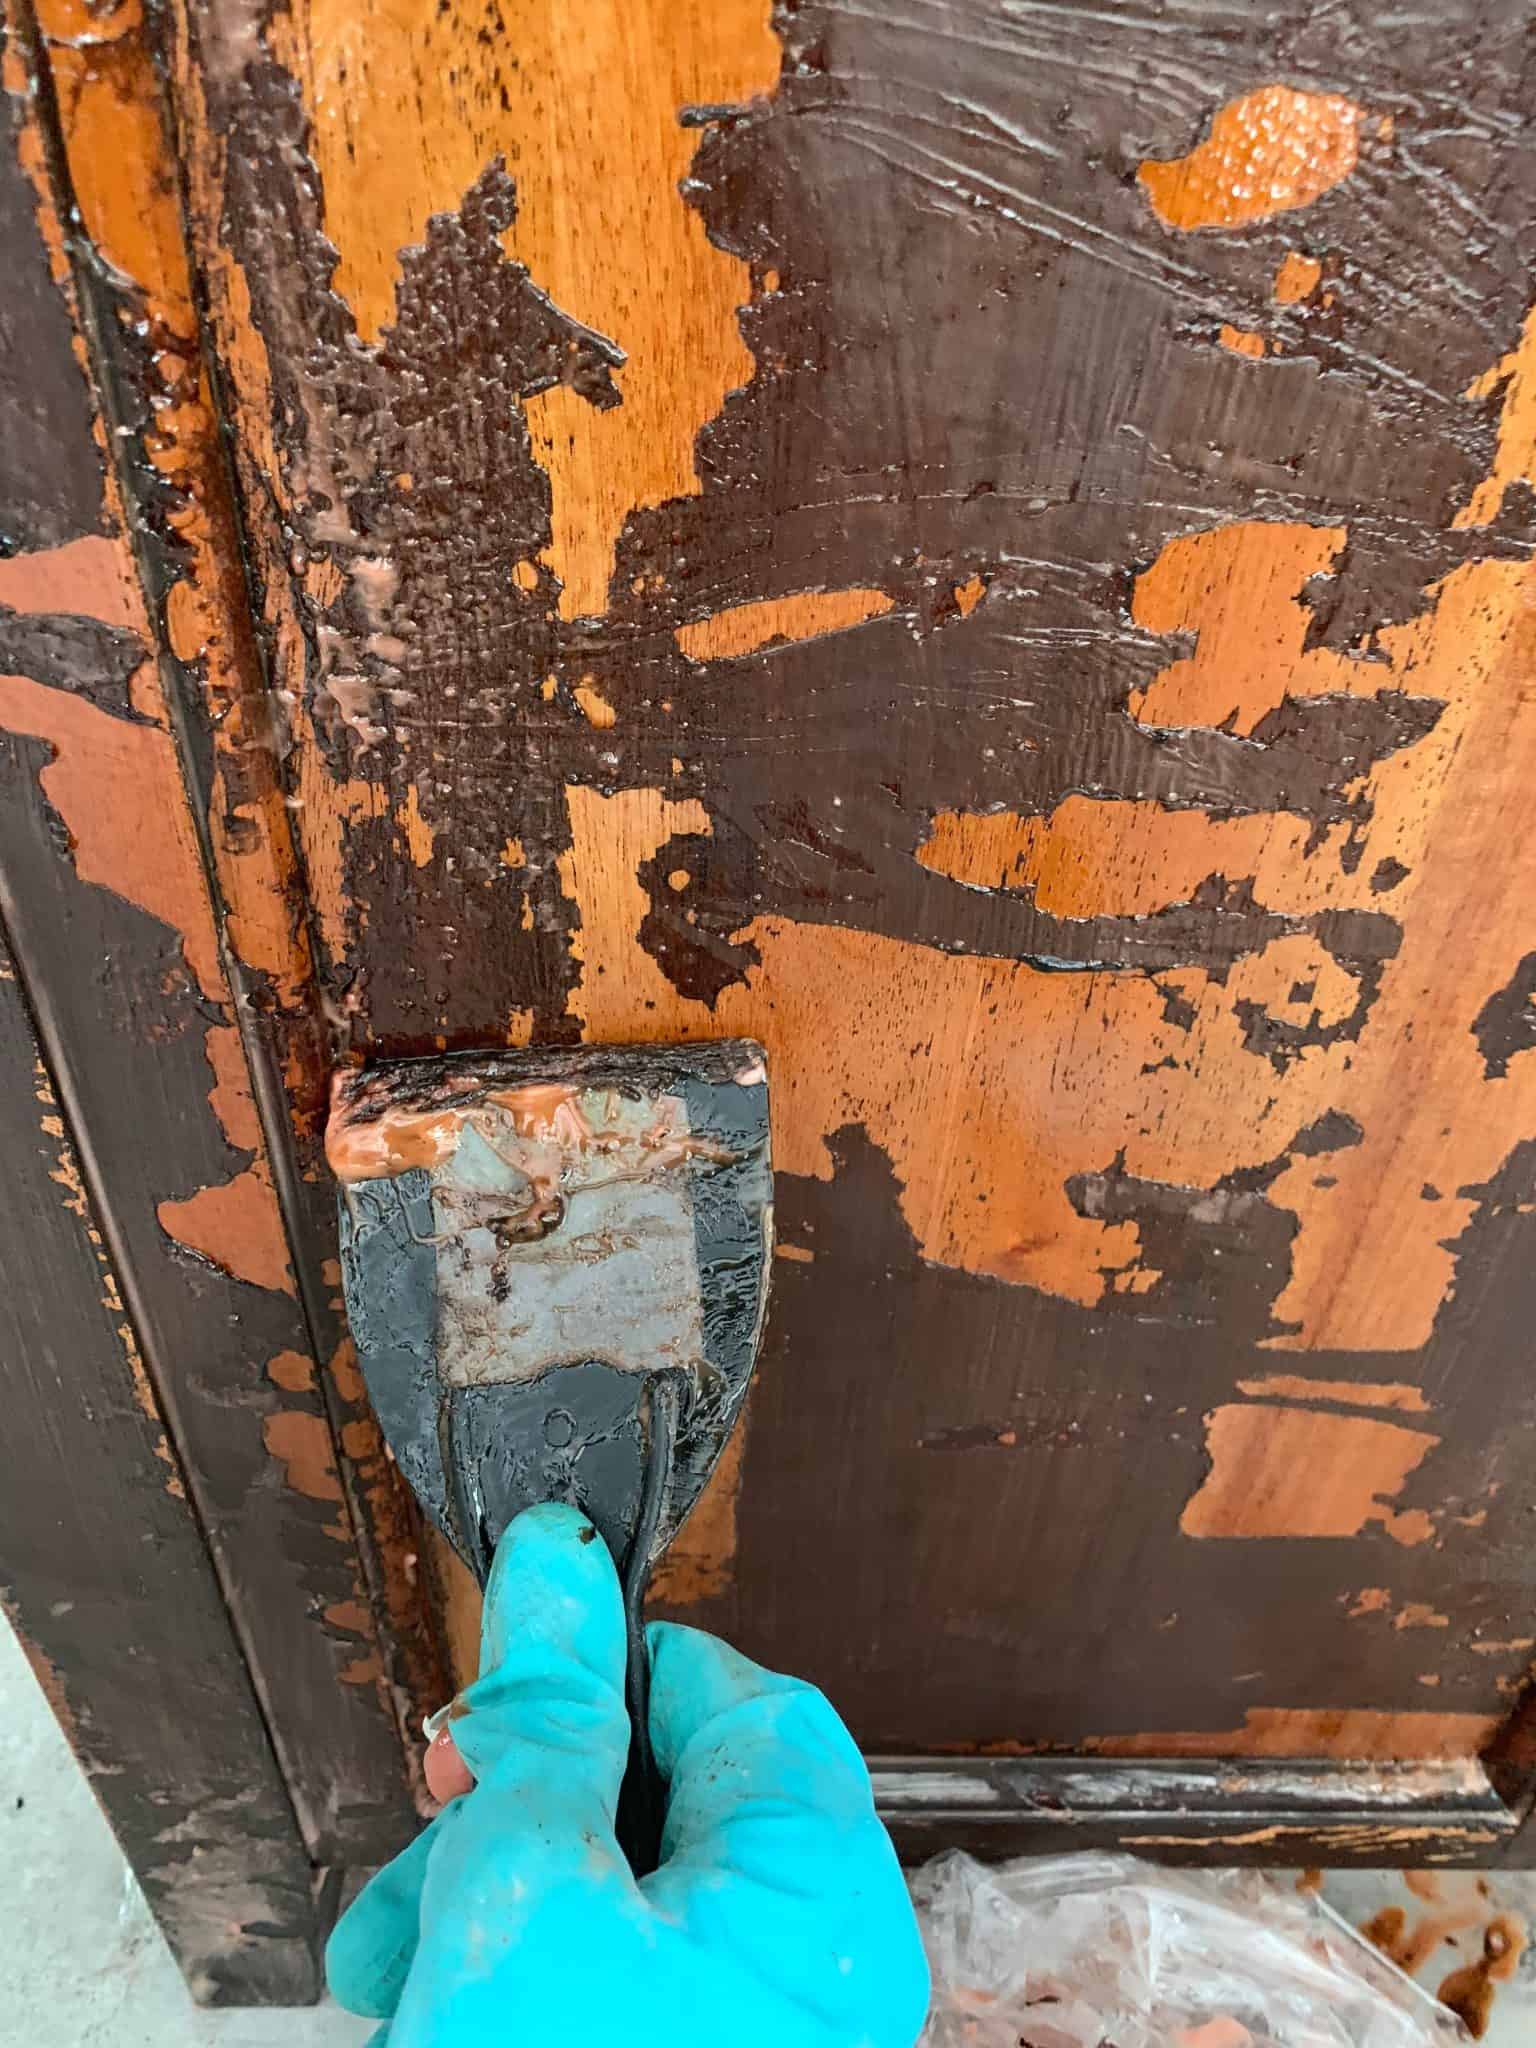
Use a water bucket and soft brush to gently wash off some of the goo between layers, being careful to not damage the wood. Some tutorials recommend using a stripping pad or wire bristle brush. While these will remove the product, you run the risk of damaging your natural wood. If you are painting the piece, you will not mind these scratches. One side of my dresser has scratches from the stripping pad and I was unable to buff these out. I do not recommend using anything above a soft brush or plastic scrapper for these reasons.
Repeat the process and try using Klean Strip Afterwash on any tough spots. It may take several applications of Citristrip to get to the natural layer.
Finish this step with wiping down with afterwash. Warning, this is a potent product and all safety instructions on the label should be followed. While I wanted to avoid using this product, it really is magic and removed a lot of the color from the wood itself. Just be cautious.
Bleach Your Furniture
Lightly sand your furniture, wipe clean and prepare to bleach the furniture. I used Clorox Splash-Less which has a gel like consistency. Pour the Clorox into a bowl or bucket. Using a rag, apply a thin layer of Clorox to the furniture. Repeat several times and let it dry in between coats. I repeated this several times over several days to achieve my desired color. Lightly sand when finished and wipe your surface clean. I used household vinegar diluted with water to clean the final surface, in efforts to neutralize any bleach left behind.


Stain Your Furniture
This step is optional. In it’s natural state, our furniture had a red tint to it. After bleaching, I decided to add stain to minimize the red tones. I used one coat of Miniwax Weathered Oak. I applied one thin layer with a rag, wiping any excess stain away.

Seal Your Furniture

I prefer using Polycrylic Clear Matte as a topcoat for my furniture projects. It drys without a sheen and does not yellow with time. Make sure your surface is clean using a lint free product. Use a brush recommended for wax and apply a thin continuous line. Avoid lifting and putting your brush down multiple times to avoid brush marks. Let this dry per instructions on the label, then sand lightly. Clean your surface and repeat at least two more times. Sand lightly to complete the project.

Sit Back and Enjoy
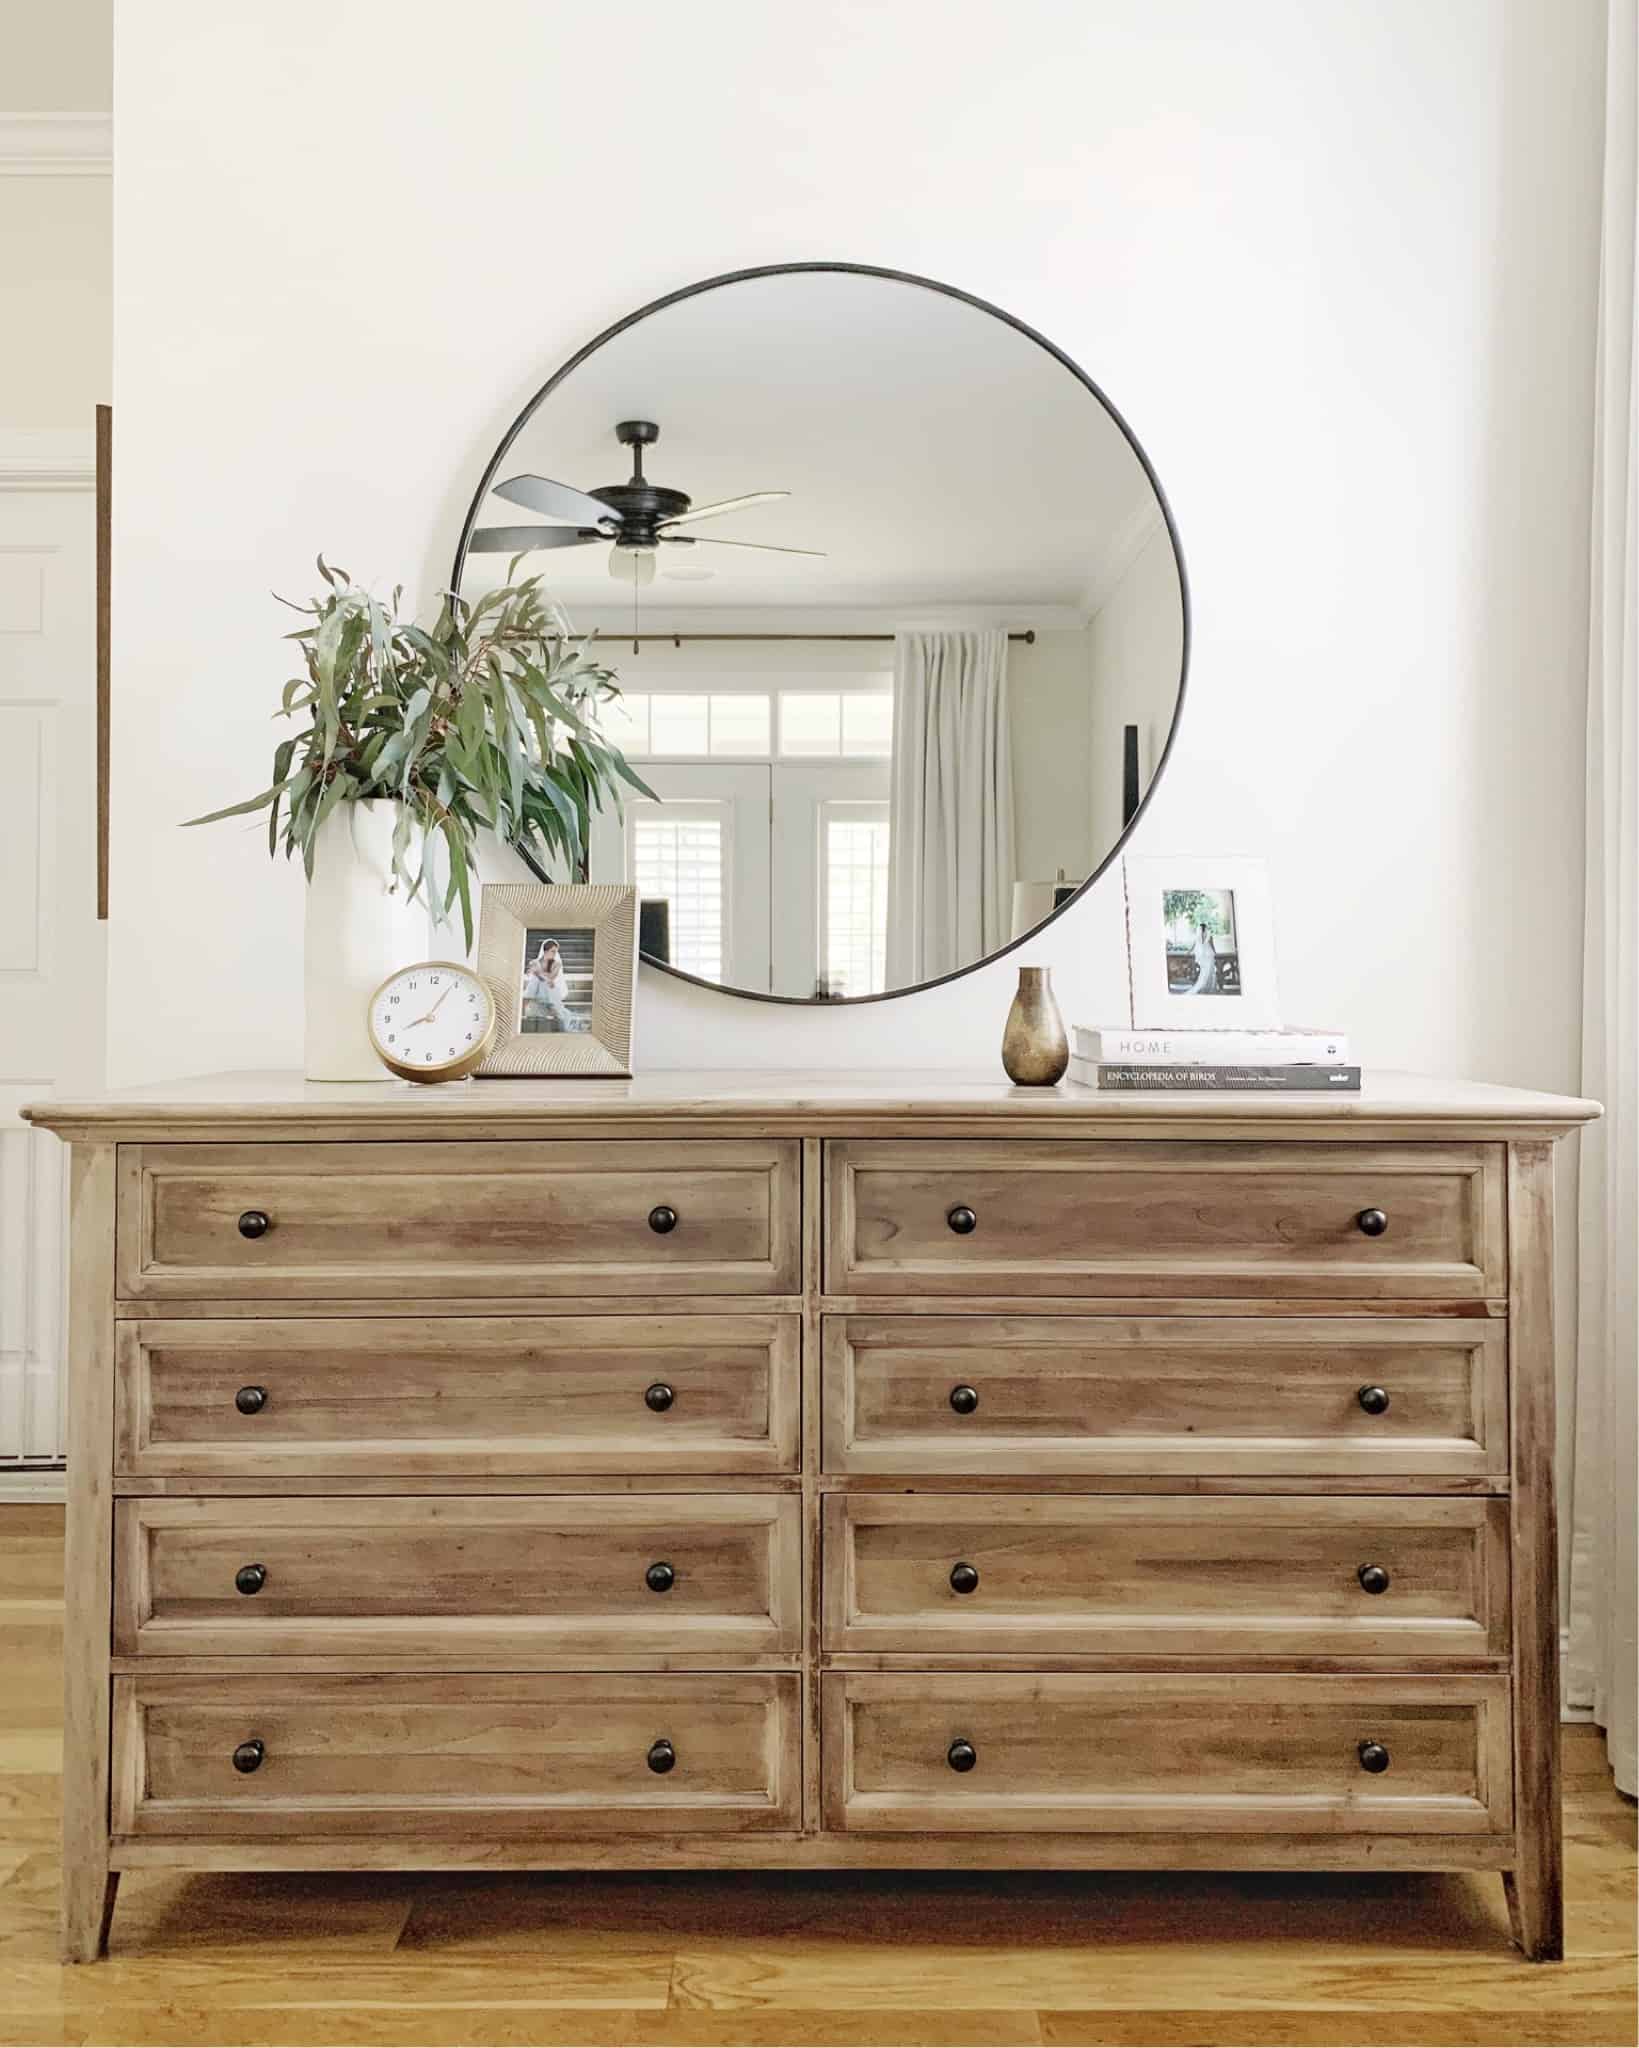
I love the end result of this project. It was a lot of work stripping furniture, but it was easy enough for a beginner to accomplish. Prepare yourself for a mess and have patience, the final product will be amazing!
You can watch step by step videos by going to my Instagram @thecoastaloak.
