How to Make a Natural Magnolia Wreath – For Less Than $20

While out on a jog, I ran past a large pile of magnolia tree cuttings. Our neighbor was landscaping and had trimmed several of their trees, placing the cuttings at the curb for waste pickup. I started picturing the beautiful magnolia wreaths adorning the antebellum homes in Charleston and questioning how to make my own wreath, with a smaller price tag.
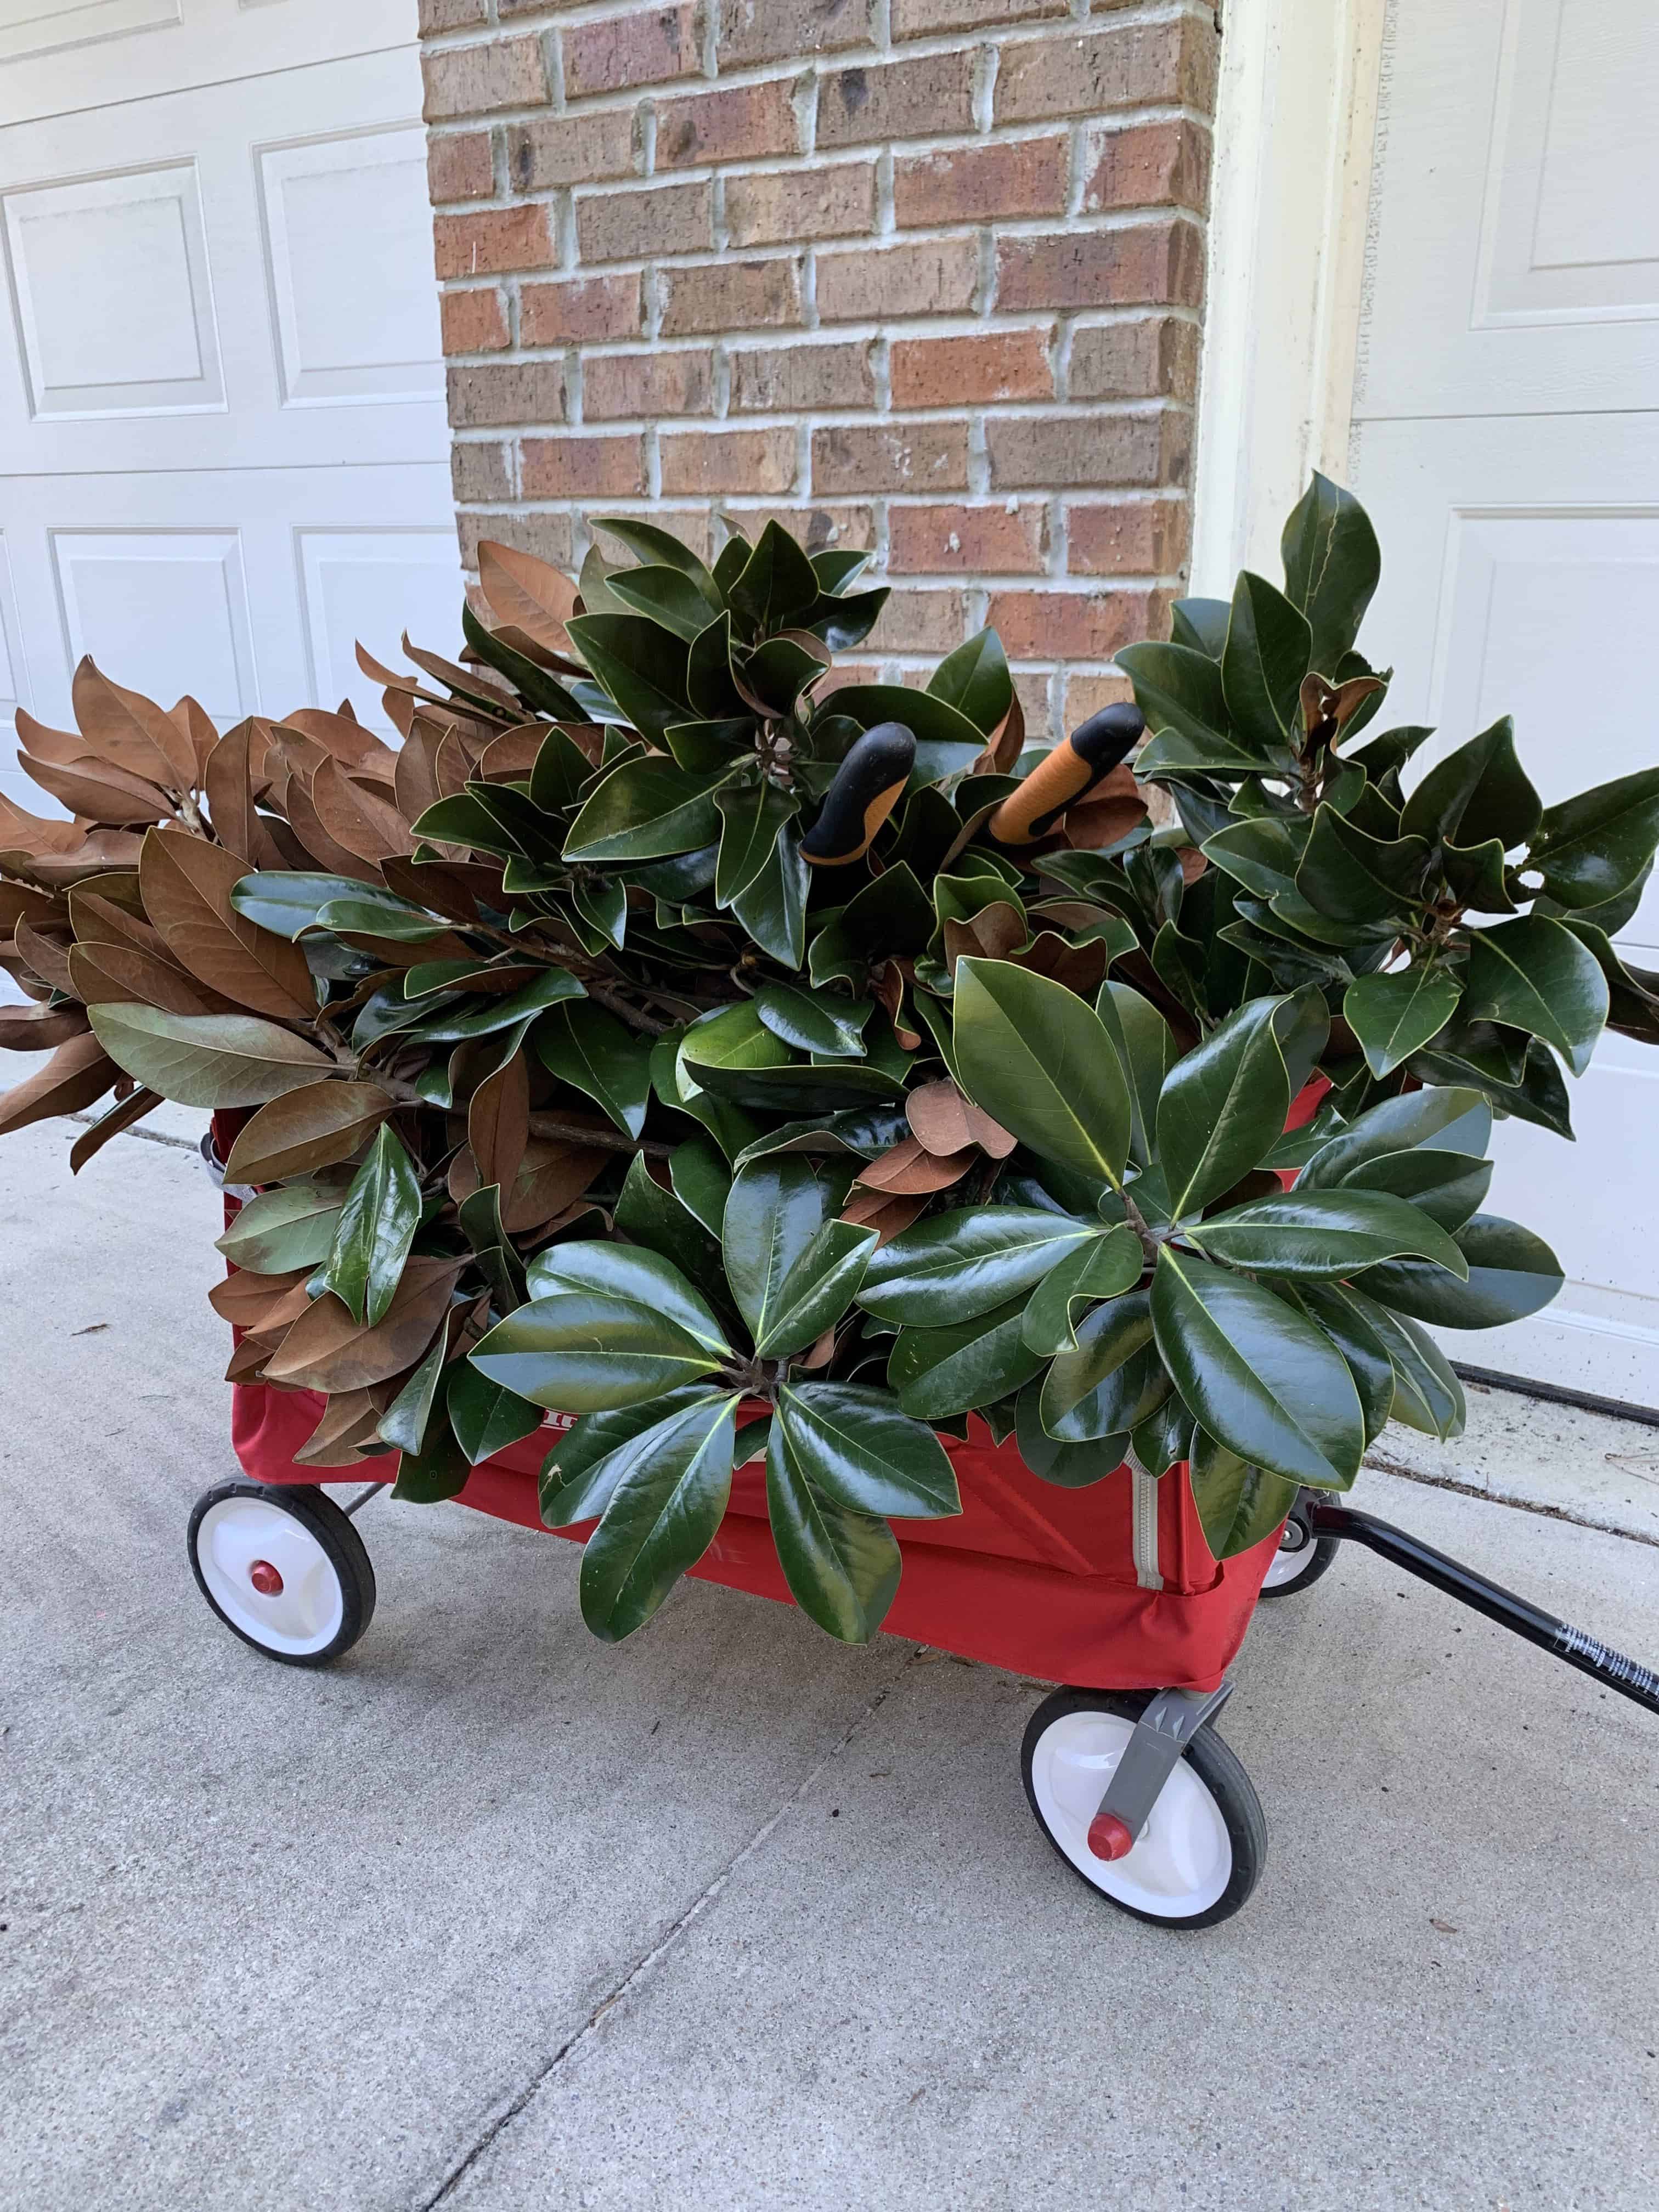
The following day, I set out with our little red wagon and brought home two loads of cuttings. Several neighbors drove by and gave me comical looks and I understand. I looked crazy, but I had a plan to make something great. Here is how it went, and how you can create your own magnolia wreath!
This post contains affiliate links, meaning I may receive commission from your clicks and purchases. Read my full disclaimer here.


Preparing the Magnolia Leaves for the DIY Magnolia Wreath Project
Preserving the Magnolia Leaves
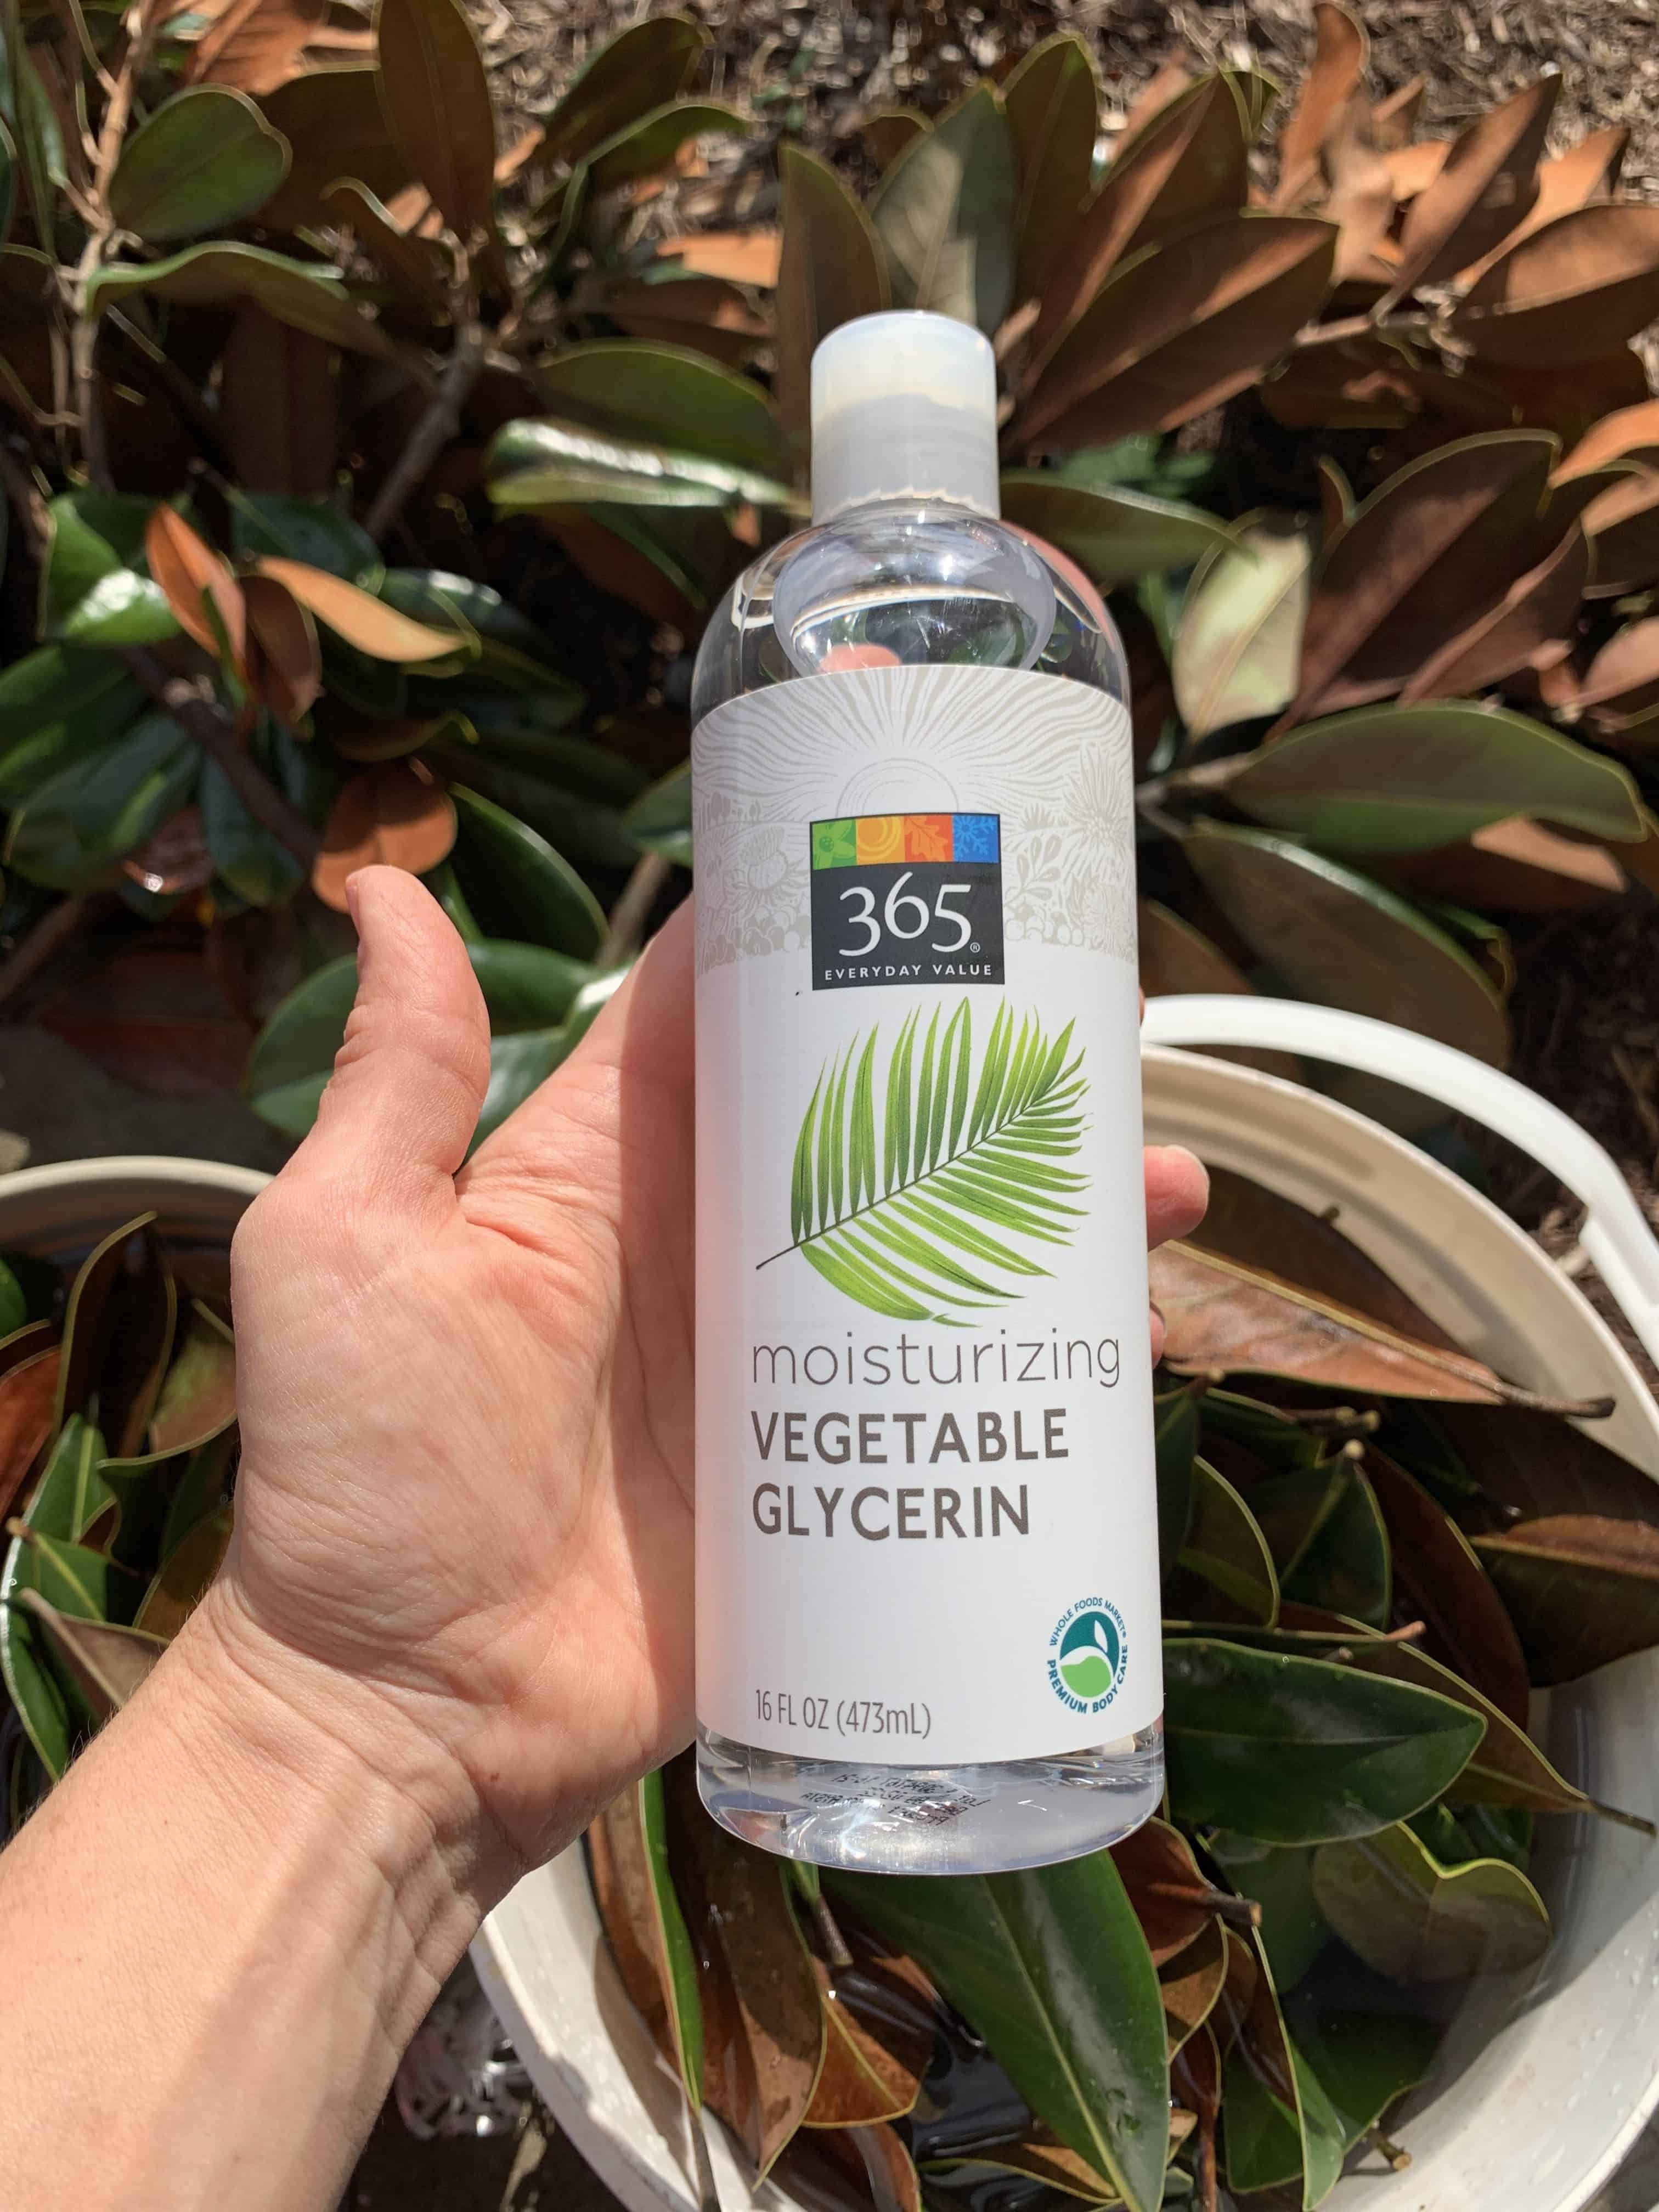
I searched the internet and found several recommendations for preserving leaves with children and a lightbulb went off. I decided to use a glycerin soaking method because I was able to order it same day delivery from Prime Now. I was home with the kids and did not want to head out in search of glycerin with three children in tow. Two hours later, the glycerin was delivered with my groceries and I was able to enlist help from my little ones.


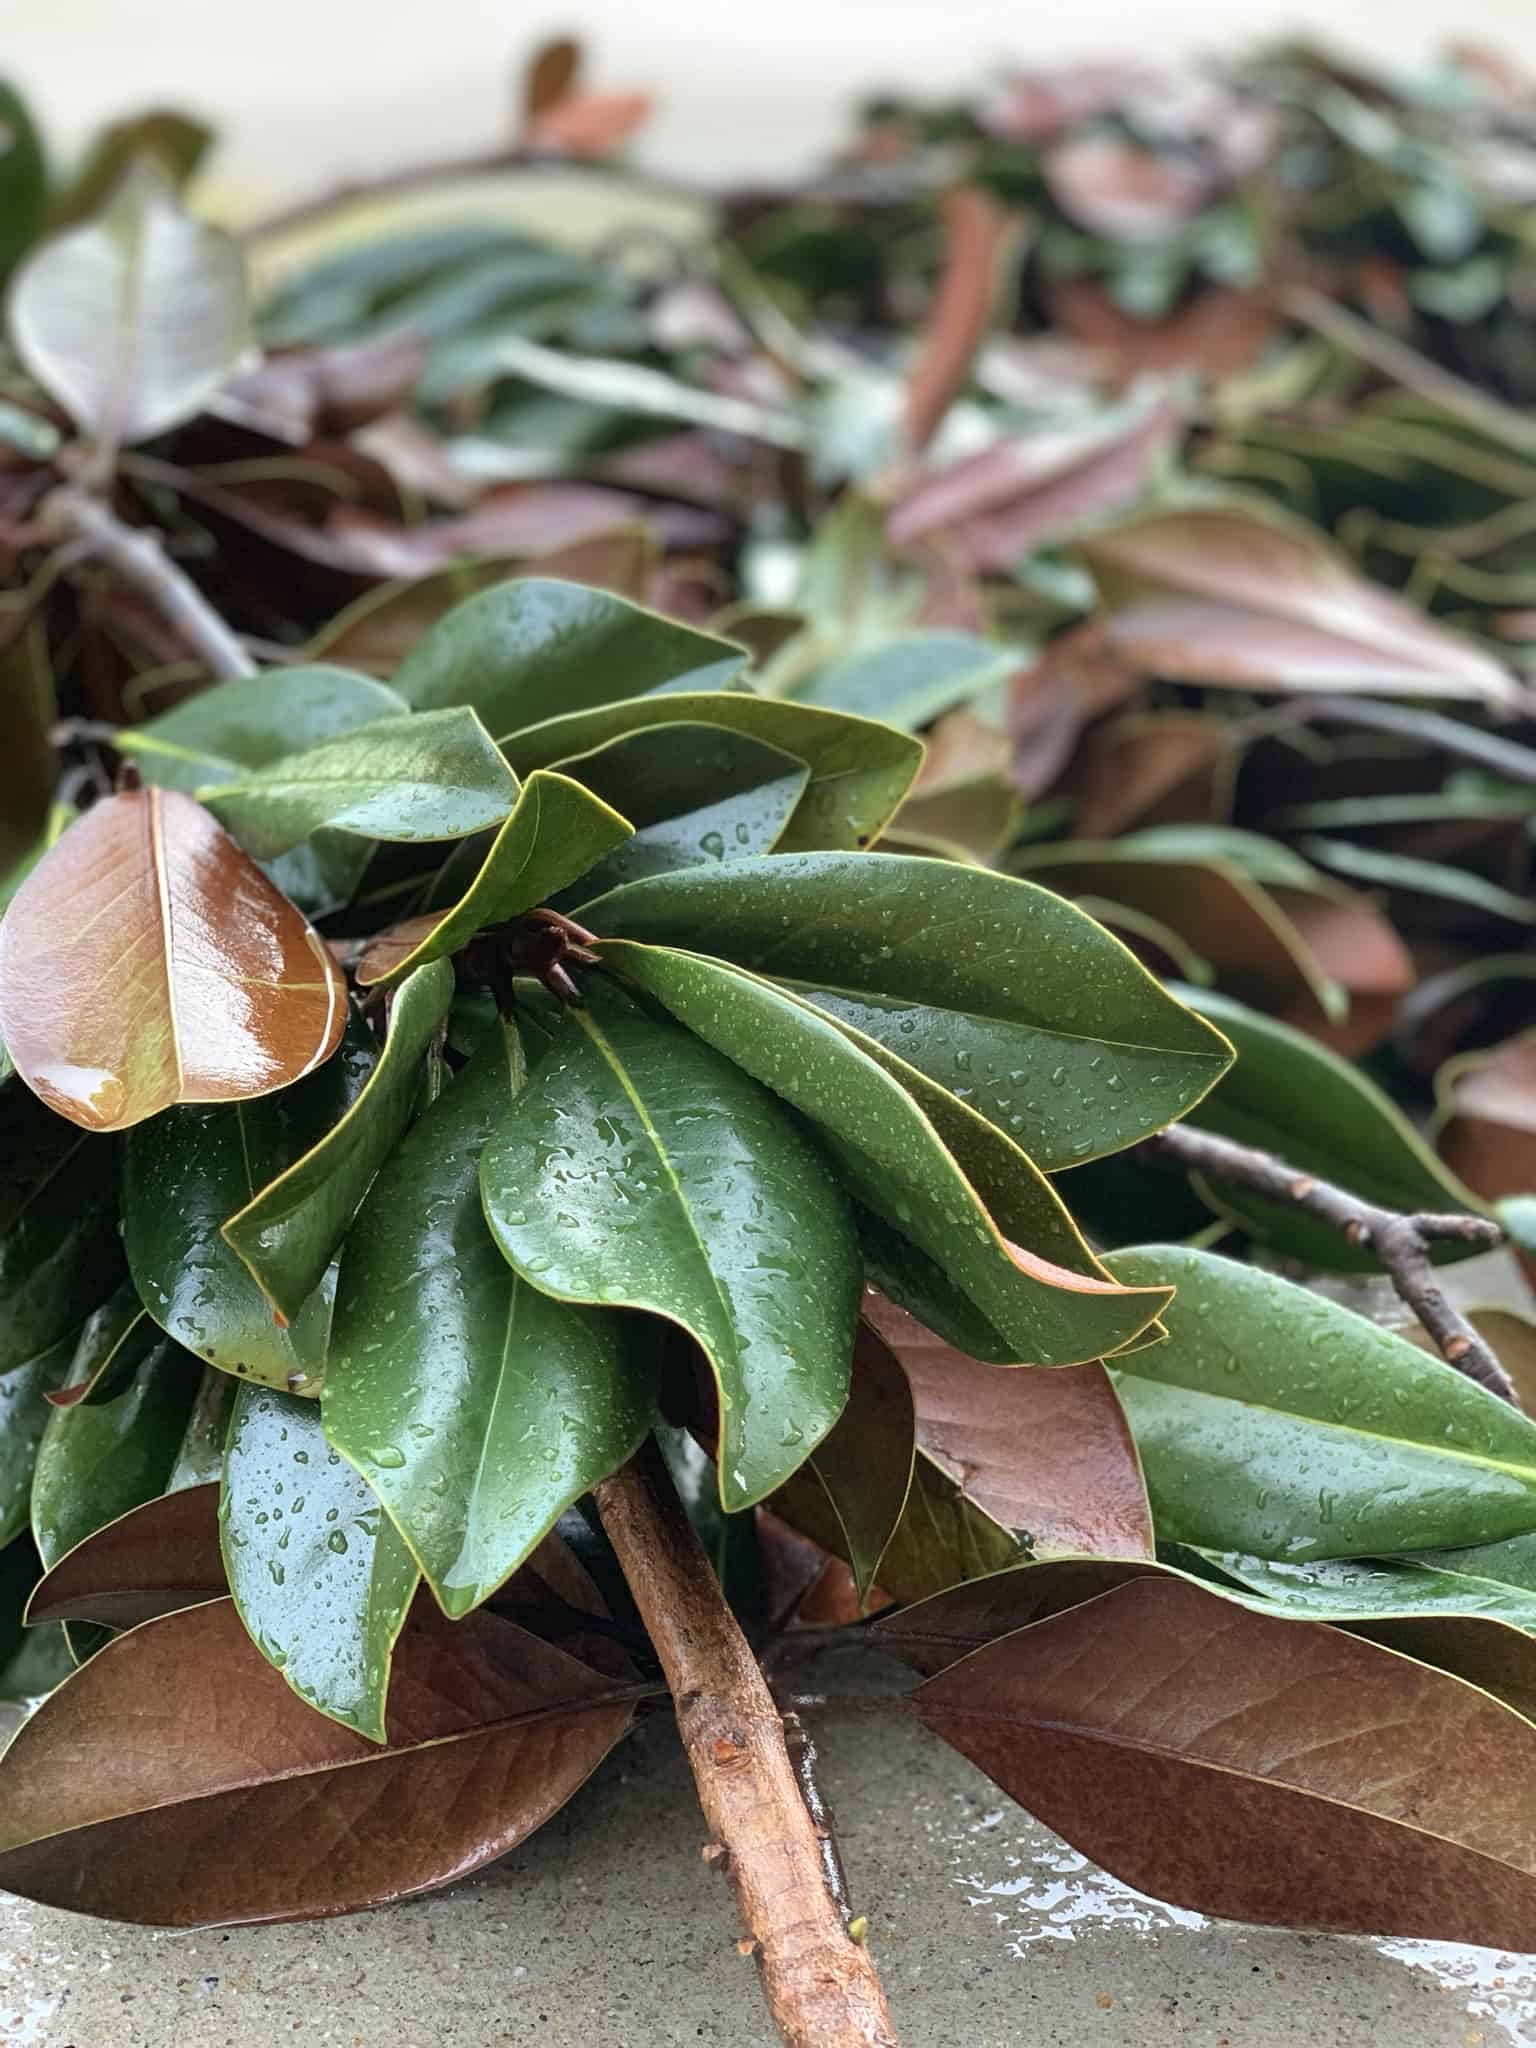
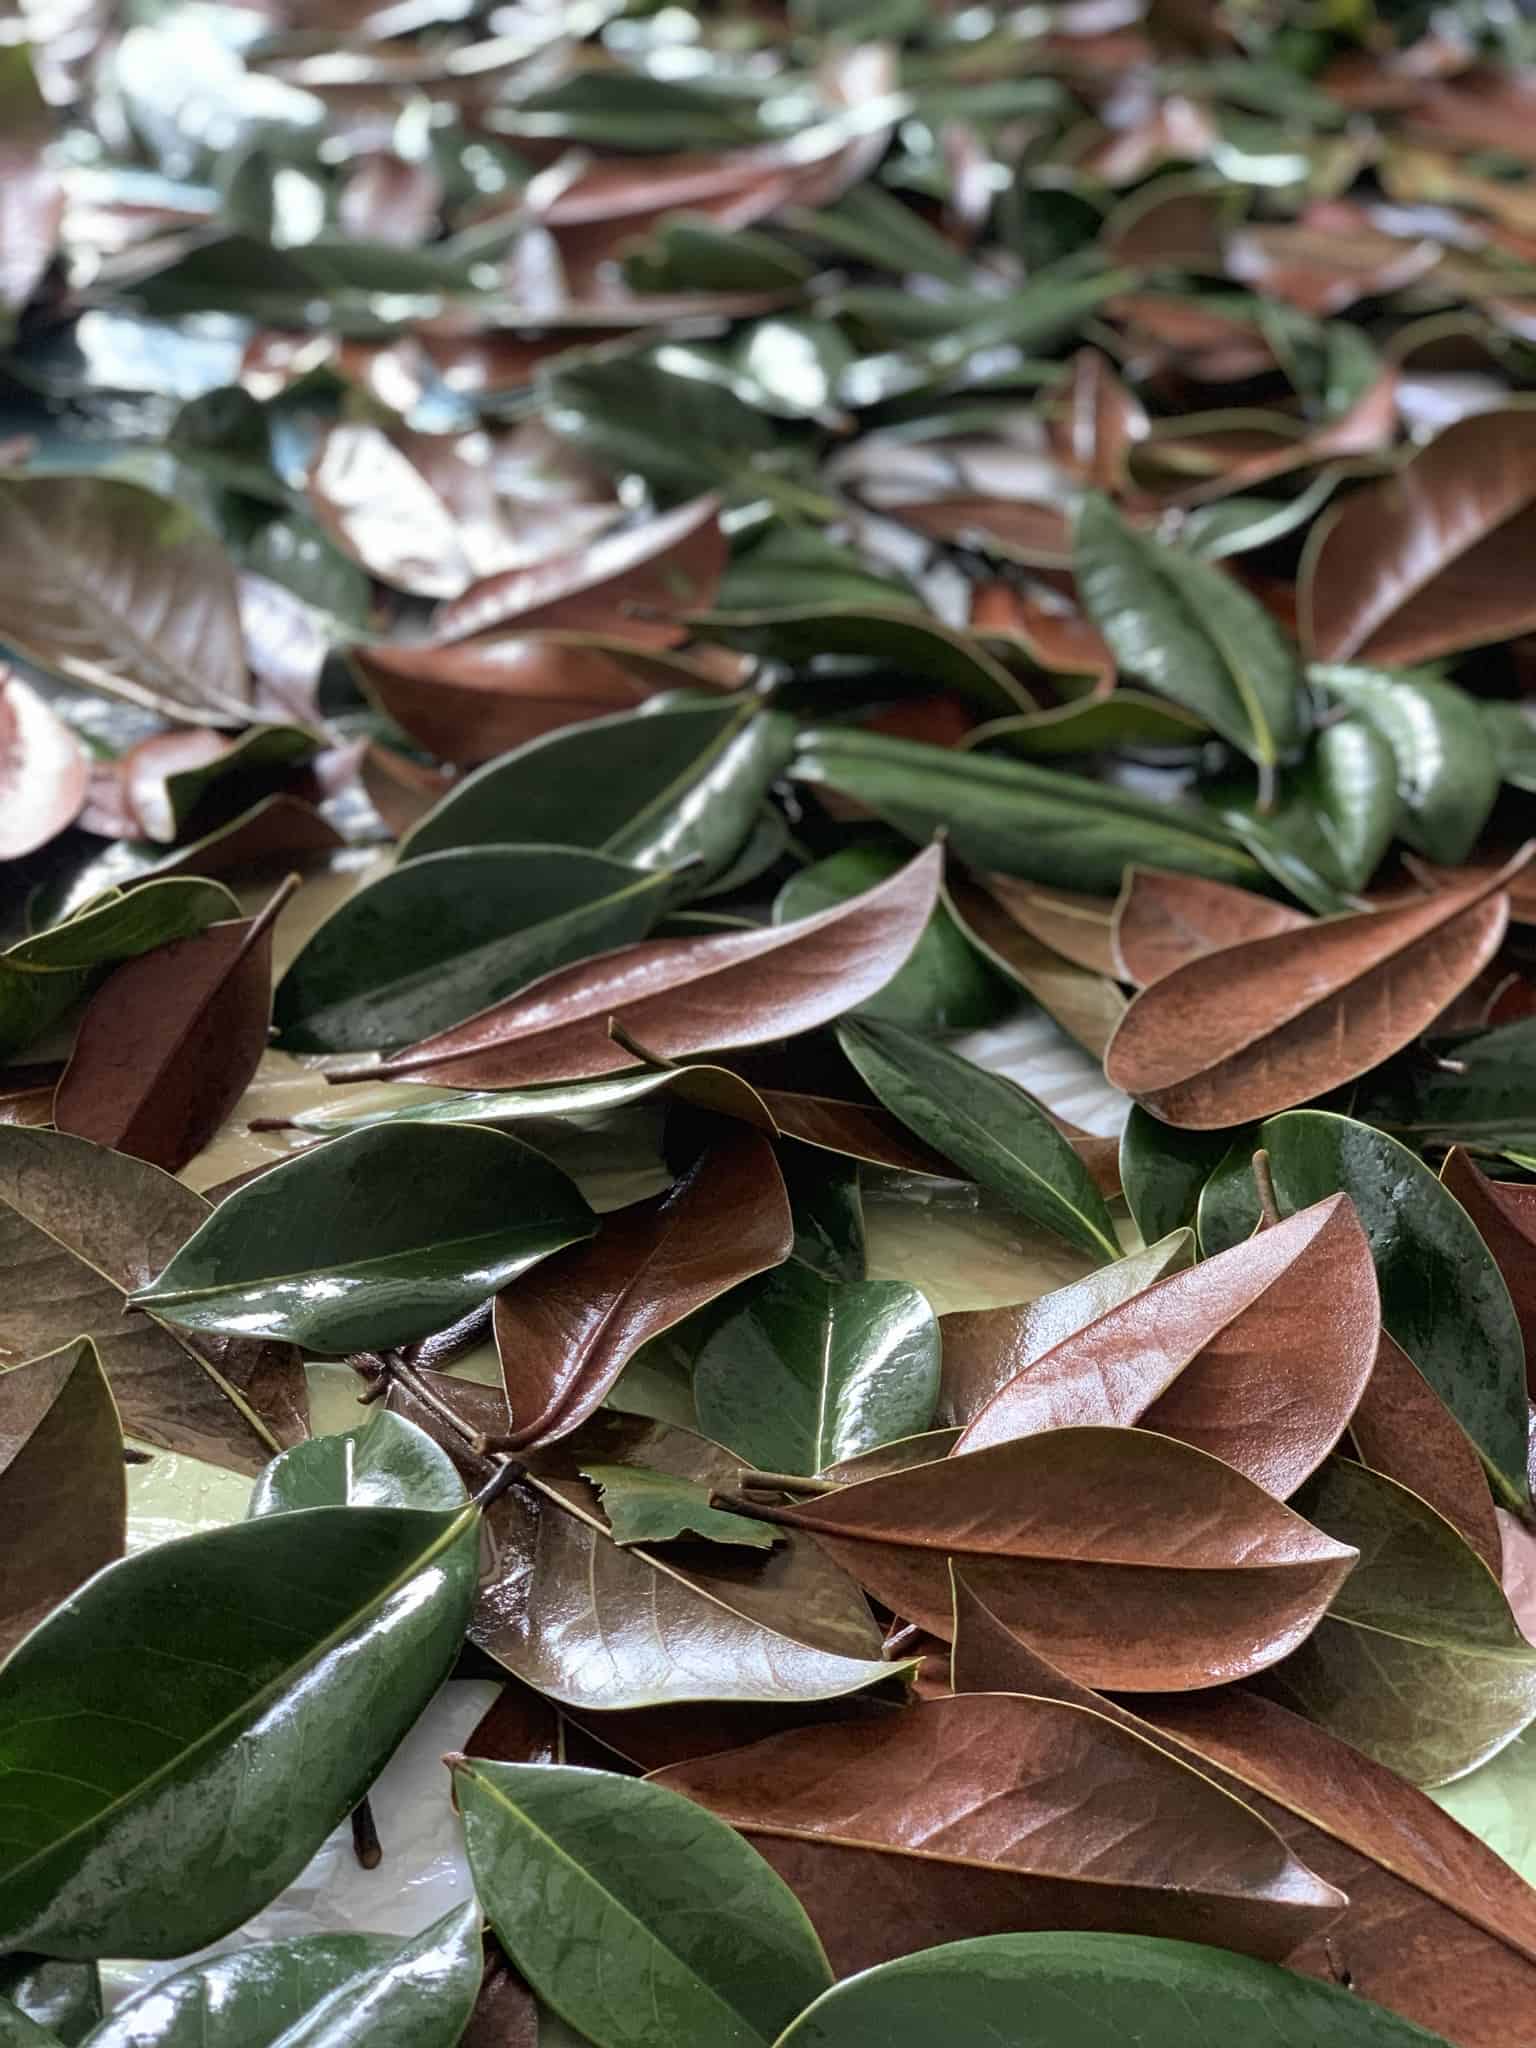
First, we trimmed the leaves from the branches. Then, we put them in a bucket of water. We added one bottle of glycerin to each bucket of water. It is suggested to use a 2:1 water to glycerin solution, but I compromised and our solution was very diluted with water. Again, little kids and cutting corners, I know, not advised. I topped the solution with heavy plates to keep the leaves submerged. Then, I left them for 2-3 days to soak. Finally, I put them all in a single layer to dry before bringing them inside.


Please read: This was my first time making a magnolia wreath and I hope to perfect the method moving forward. If you have tips for preserving the leaves, please comment and send them my way! I am not convinced that this wreath will last for long because these were roadside cuttings that sat outside for days. I recommend cutting and preserving your leaves immediately after removing from the tree.
How to Make Your Own Live Magnolia Wreath
Supplies Used
- Magnolia Cuttings
- Floral Pins
- 14″ Foam Ring
- Hot Glue Gun
- Glue Sticks
- Scissors
- Glycerin (if you are preserving the leaves)
- Trim your leaves as close to the branch as possible.
- Rinse your leaves.
- If preserving, prepare your glycerin and water solution (2 parts water to one part glycerin). Soak for 2-3 days. Arrange leaves in single layer and let dry.
- Using 3-4 leaves at a time, pin clumps of leaves to the foam ring, moving in a circular motion around the outer portion of the ring. I went around with hot glue to secure the pinned leaves.
- Move inward and pin leaves diagonally in a circular motion around the ring.
- Pin leaves to the center to hide the remaining foam.
- Hot glue leaves to hide pins.
- Fill in gaps and holes by hot gluing leaves.
- Voila, sit back and enjoy making a wreath for less than $20 when they sell for $150 retail.


How to Make a Natural Magnolia Wreath

Love the look of natural Magnolia Wreaths, but hate the price tag? I found FREE Magnolia leaf clippings in my neighbor's yard and made this stunning love Magnolia Wreath for less than $20! Here's how.
Materials
- Magnolia Cuttings
- Floral Pins
- 14" Foam Ring
- Hot Glue Gun
- Glue Sticks
- Scissors
- Glycerin (if you are preserving the leaves)
Instructions
- Trim your leaves as close to the branch as possible.
- Rinse your leaves.
- If preserving, prepare your glycerin and water solution (2 parts water to one part glycerin). Soak for 2-3 days. Arrange leaves in single layer and let dry.
- Using 3-4 leaves at a time, pin clumps of leaves to the foam ring, moving in a circular motion around the outer portion of the ring. I went around with hot glue to secure the pinned leaves.
- Move inward and pin leaves diagonally in a circular motion around the ring.
- Pin leaves to the center to hide the remaining foam.
- Hot glue leaves to hide pins.
- Fill in gaps and holes by hot gluing leaves.
- Voila, sit back and enjoy making a wreath for less than $20 when they sell for $150 retail.
Happy wreath making, I hope you enjoyed this post and please let me know if you attempt it! Head over to my Instagram here and watch my video tutorial.
Check out more DIY home decor projects here!
- DIY Dried Orange Garland
- Large Clam Shell with Succulents
- Large Gallery Wall Using Ikea Ribba Picture Frames
- Ikea Play Kitchen Makeover
Have a wonderful week,
Amy


Wow, such a great idea! Love this.
Thank you, I can’t wait to try it again!