Refinishing Furniture: The Provincial Dresser
I’m taking a trip down memory lane to bring you the story of the provincial dresser in our nursery. It has been a while since refinishing furniture has crossed my mind. I was seven months pregnant when I tackled this dresser and it was my final piece before Theo made his appearance. I never got around to sharing how I did this, so here is what I documented along the way!
As an Amazon Associate I earn from qualifying purchases. You can read my full disclosures here.
The Provincial Dresser


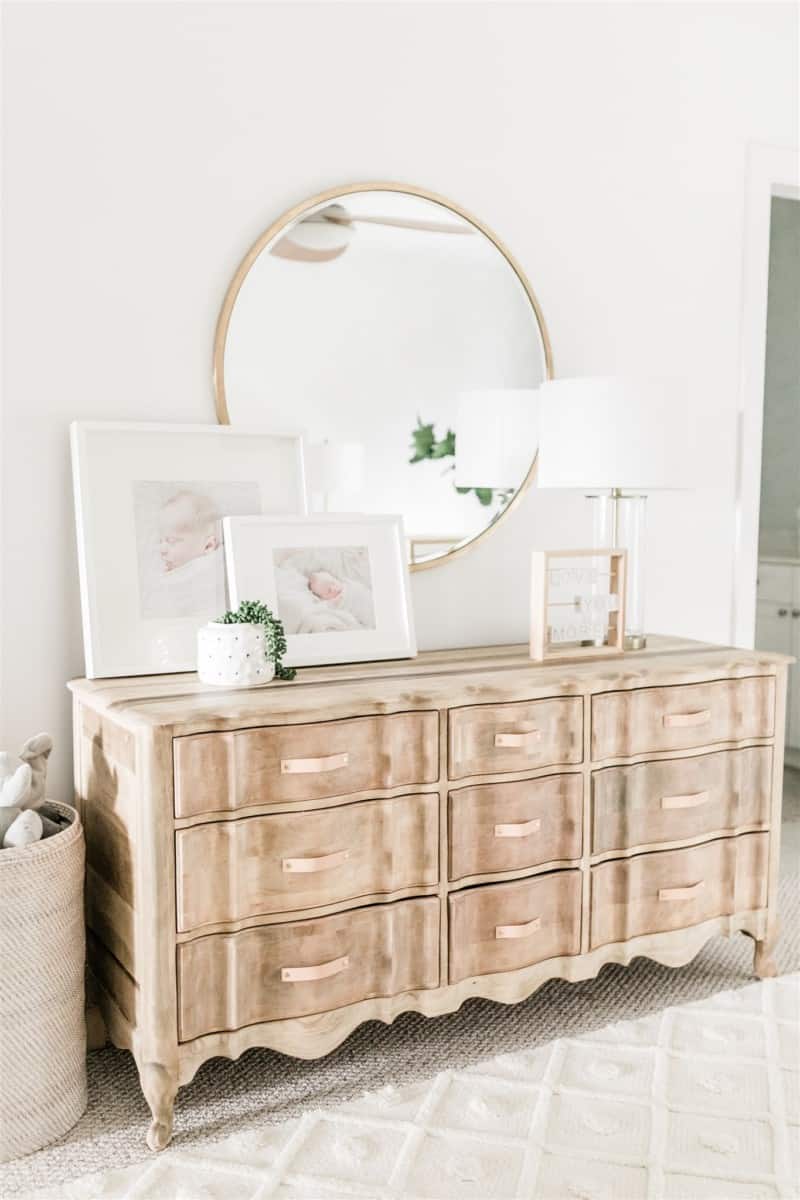
We purchased this dresser for $40 at a yardsale five years ago. My husband painted it white and we used it in two different nurseries. Having another boy, I decided to change things up and refinish the piece. How did I do it? I used the same technique that I used for the Empire Dresser Makeover. This piece had a thin strip of veneer and I was able to sand through it. Here is a quick guide to how I refinished this piece.
How to Refinish a Dresser: Start with Prep
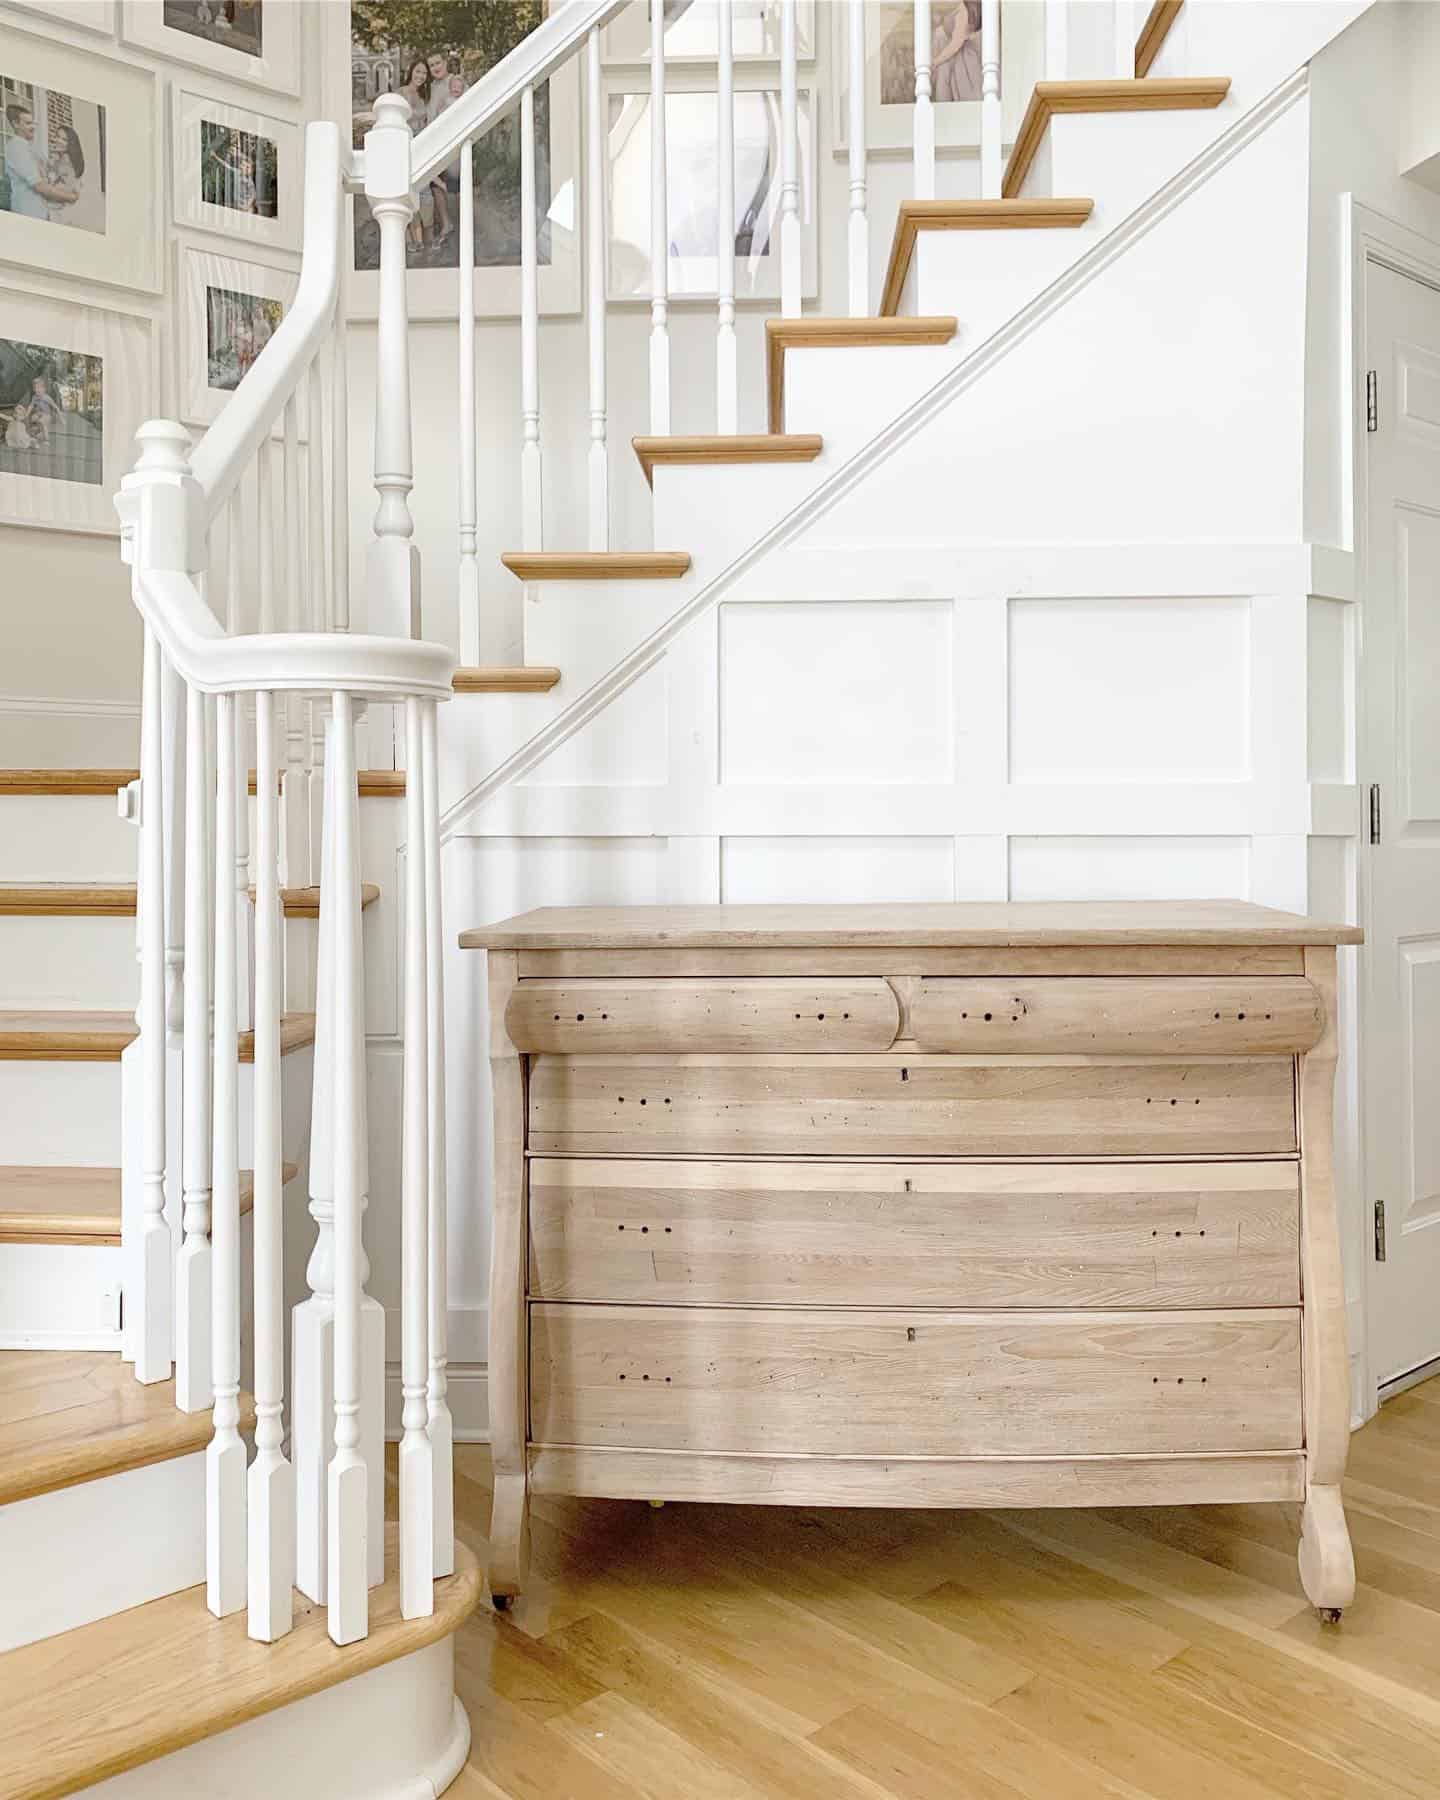
It is important to test an area to determine what kind of wood you are working with beneath the surface. I found that this veneer was very thin and easy to sand through on the top. It is also important to test an area on the drawers and the sides of the piece as well. Sometimes different wood is used for different areas of furniture. Next, clean out the furniture, take the drawers out, and remove the hardware.


Use an electric sander with lower grit sandpaper. Lower grit numbers are more abrasive, with coarseness decreasing as the grit number increases. I prefer using the Ryobi Orbital Sander with 60 grit sandpaper.
Next, I use a detail sander attachment on my Dremel Multimax and the Dremel Rotary to get into the corners and hard to reach spots. You will notice on this piece, I sanded through some of the detail with my orbital sander to avoid meticulous sanding of those areas.
When I have all of the finish and veneer removed, I increase to 220 grit, then to 320 grit to smooth out and buff the surface.

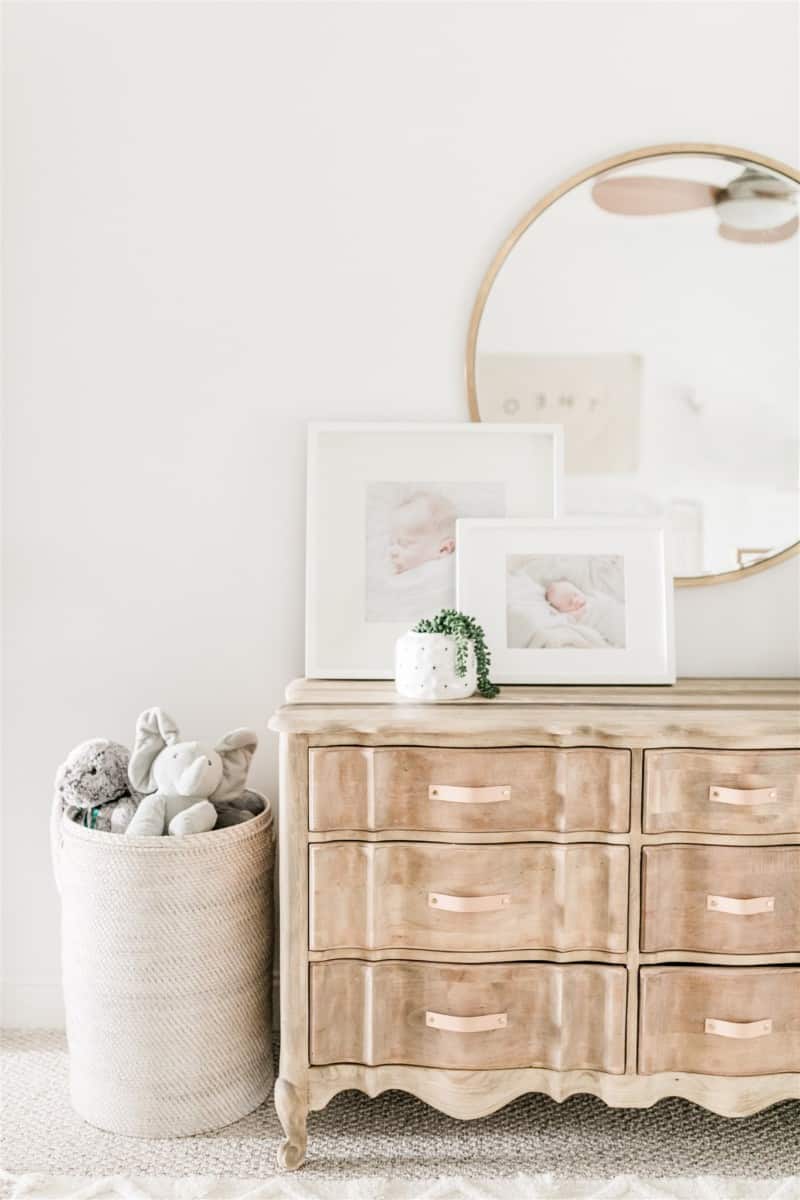
The next step depends on what you find underneath the surface. This piece was yellow and green underneath, so I used the same bleaching method I used here. Then I used Minwax Weathered Oak stain to give it more of a reclaimed and weathered look. Finally, I used the Minwax Polycrylic Clear Matte to seal it, using the same method found here.
Finally, I found these leather pulls to give it a fun twist for our coastal nursery. You can customize the color, size, and hardware.


Step by Step Guide to Refinishing a Wood Dresser
- Step 1: Test an area to confirm there is real wood beneath the finish or veneer.
- Step 2: Remove hardware & drawers.
- Step 3: Sand the wood. I use the Ryobi Orbital Sander and this sandpaper for the larger areas of the piece. I use this sander attachment on the Dremel Multimax for the corners and hard to reach places. I use this Dremel Rotary Tool for small areas. Use low grit sandpaper for removing the finish and veneer. I typically use 60-80 grit sandpaper. Use caution when using low grit sandpaper because it can scratch wood.
- Step 4: Buff the wood. I use the same sander and sandpaper for buffing the piece. Use high grit sandpaper to buff the wood. I increase the sandpaper grit slowly to achieve a smooth surface.
- Step 5: Bleach the wood by wiping Clorox Splash-less Bleach on the wood several times over a few days until desired wood color achieved. Wipe with vinegar to counteract the bleach. Skip this entire step if you are satisfied with the wood color.
- Step 6: Wipe the piece clean then condition with wood conditioner following the instructions on the container. Use caution and test a spot, as some conditioners and stains may make the wood appear darker.
- Step 7: Lightly stain the wood using a rag. Apply a thin layer and wipe off the excess stain. I used Minwax Weathered Oak Stain to help mask the natural yellow and green in this piece.
- Step 8: Seal the wood. I use Minwax Polycrylic Clear Matte Protective Finish. Use a high quality brush to apply one thin layer, let dry, lightly sand, and repeat 2 more times.
- Step 9: Attach hardware and you’re done!


How to Refinish a Dresser

Wondering how to refinish a wood dresser? Here's a step by step guide on how to refinish a gorgeous wood dresser that we added to our baby's nursery!
Materials
Instructions
Step 1: Test an area to confirm there is real wood beneath the finish or veneer.
Step 2: Remove hardware & drawers.
Step 3: Sand the wood. I use the Ryobi Orbital Sander and this sandpaper for the larger areas of the piece. I use this sander attachment on the Dremel Multimax for the corners and hard to reach places. I use this Dremel Rotary Tool for small areas. Use low grit sandpaper for removing the finish and veneer. I typically use 60-80 grit sandpaper. Use caution when using low grit sandpaper because it can scratch wood.
Step 4: Buff the wood. I use the same sander and sandpaper for buffing the
piece. Use high grit sandpaper to buff the wood. I increase the sandpaper grit slowly to achieve a smooth surface.
Step 5: Bleach the wood by wiping Clorox Splash-less Bleach on the wood several times over a few days until desired wood color achieved. Wipe with vinegar to counteract the bleach. Skip this entire step if you are satisfied with the wood color.
Step 6: Wipe the piece clean then condition with wood conditioner following
the instructions on the container. Use caution and test a spot, as some conditioners and stains may make the wood appear darker.
Step 7: Lightly stain the wood using a rag. Apply a thin layer and wipe off the excess stain. I used MinwaxWeathered Oak Stain to help mask the natural yellow and green in this piece.
Step 8: Seal the wood. I use Minwax Polycrylic Clear Matte Protective Finish. Use a high quality brush to apply one thin layer, let dry, lightly sand, and repeat 2 more times.
Step9: Attach hardware and you're done!
I wish you luck with refinishing your furniture pieces! Veneer takes a lot of patience and time to remove. I’ve had best luck with sanding through it, but it takes muscle to get the job done. I skipped a few steps here, like buffing correctly and conditioning the wood. I hope to go back and do this to achieve a smoother surface on this dresser.
Do you have any questions about this method? Please comment below, I love questions! Also, don’t forget to sign up for email updates with new posts.


This turned out gorgeous! ????
Thank you!