Installing Zellige Tile
Have you ever wanted to replace your tile with a more unique Moroccan tile? Are you exploring handmade tile and thinking about installing it as a DIY? If you answered yes to either of those questions, this one is for you! Let me share with you everything you need to know about Zellige tile.
Below you will learn about the history of this Moroccan tile and where Zellige comes from. We will explore the pros and cons of installing Moroccan tile, how to install Zellige tile, and how to care for this special tile as well. Keep scrolling to learn all about our bathroom renovation and why we selected this beautiful tile!
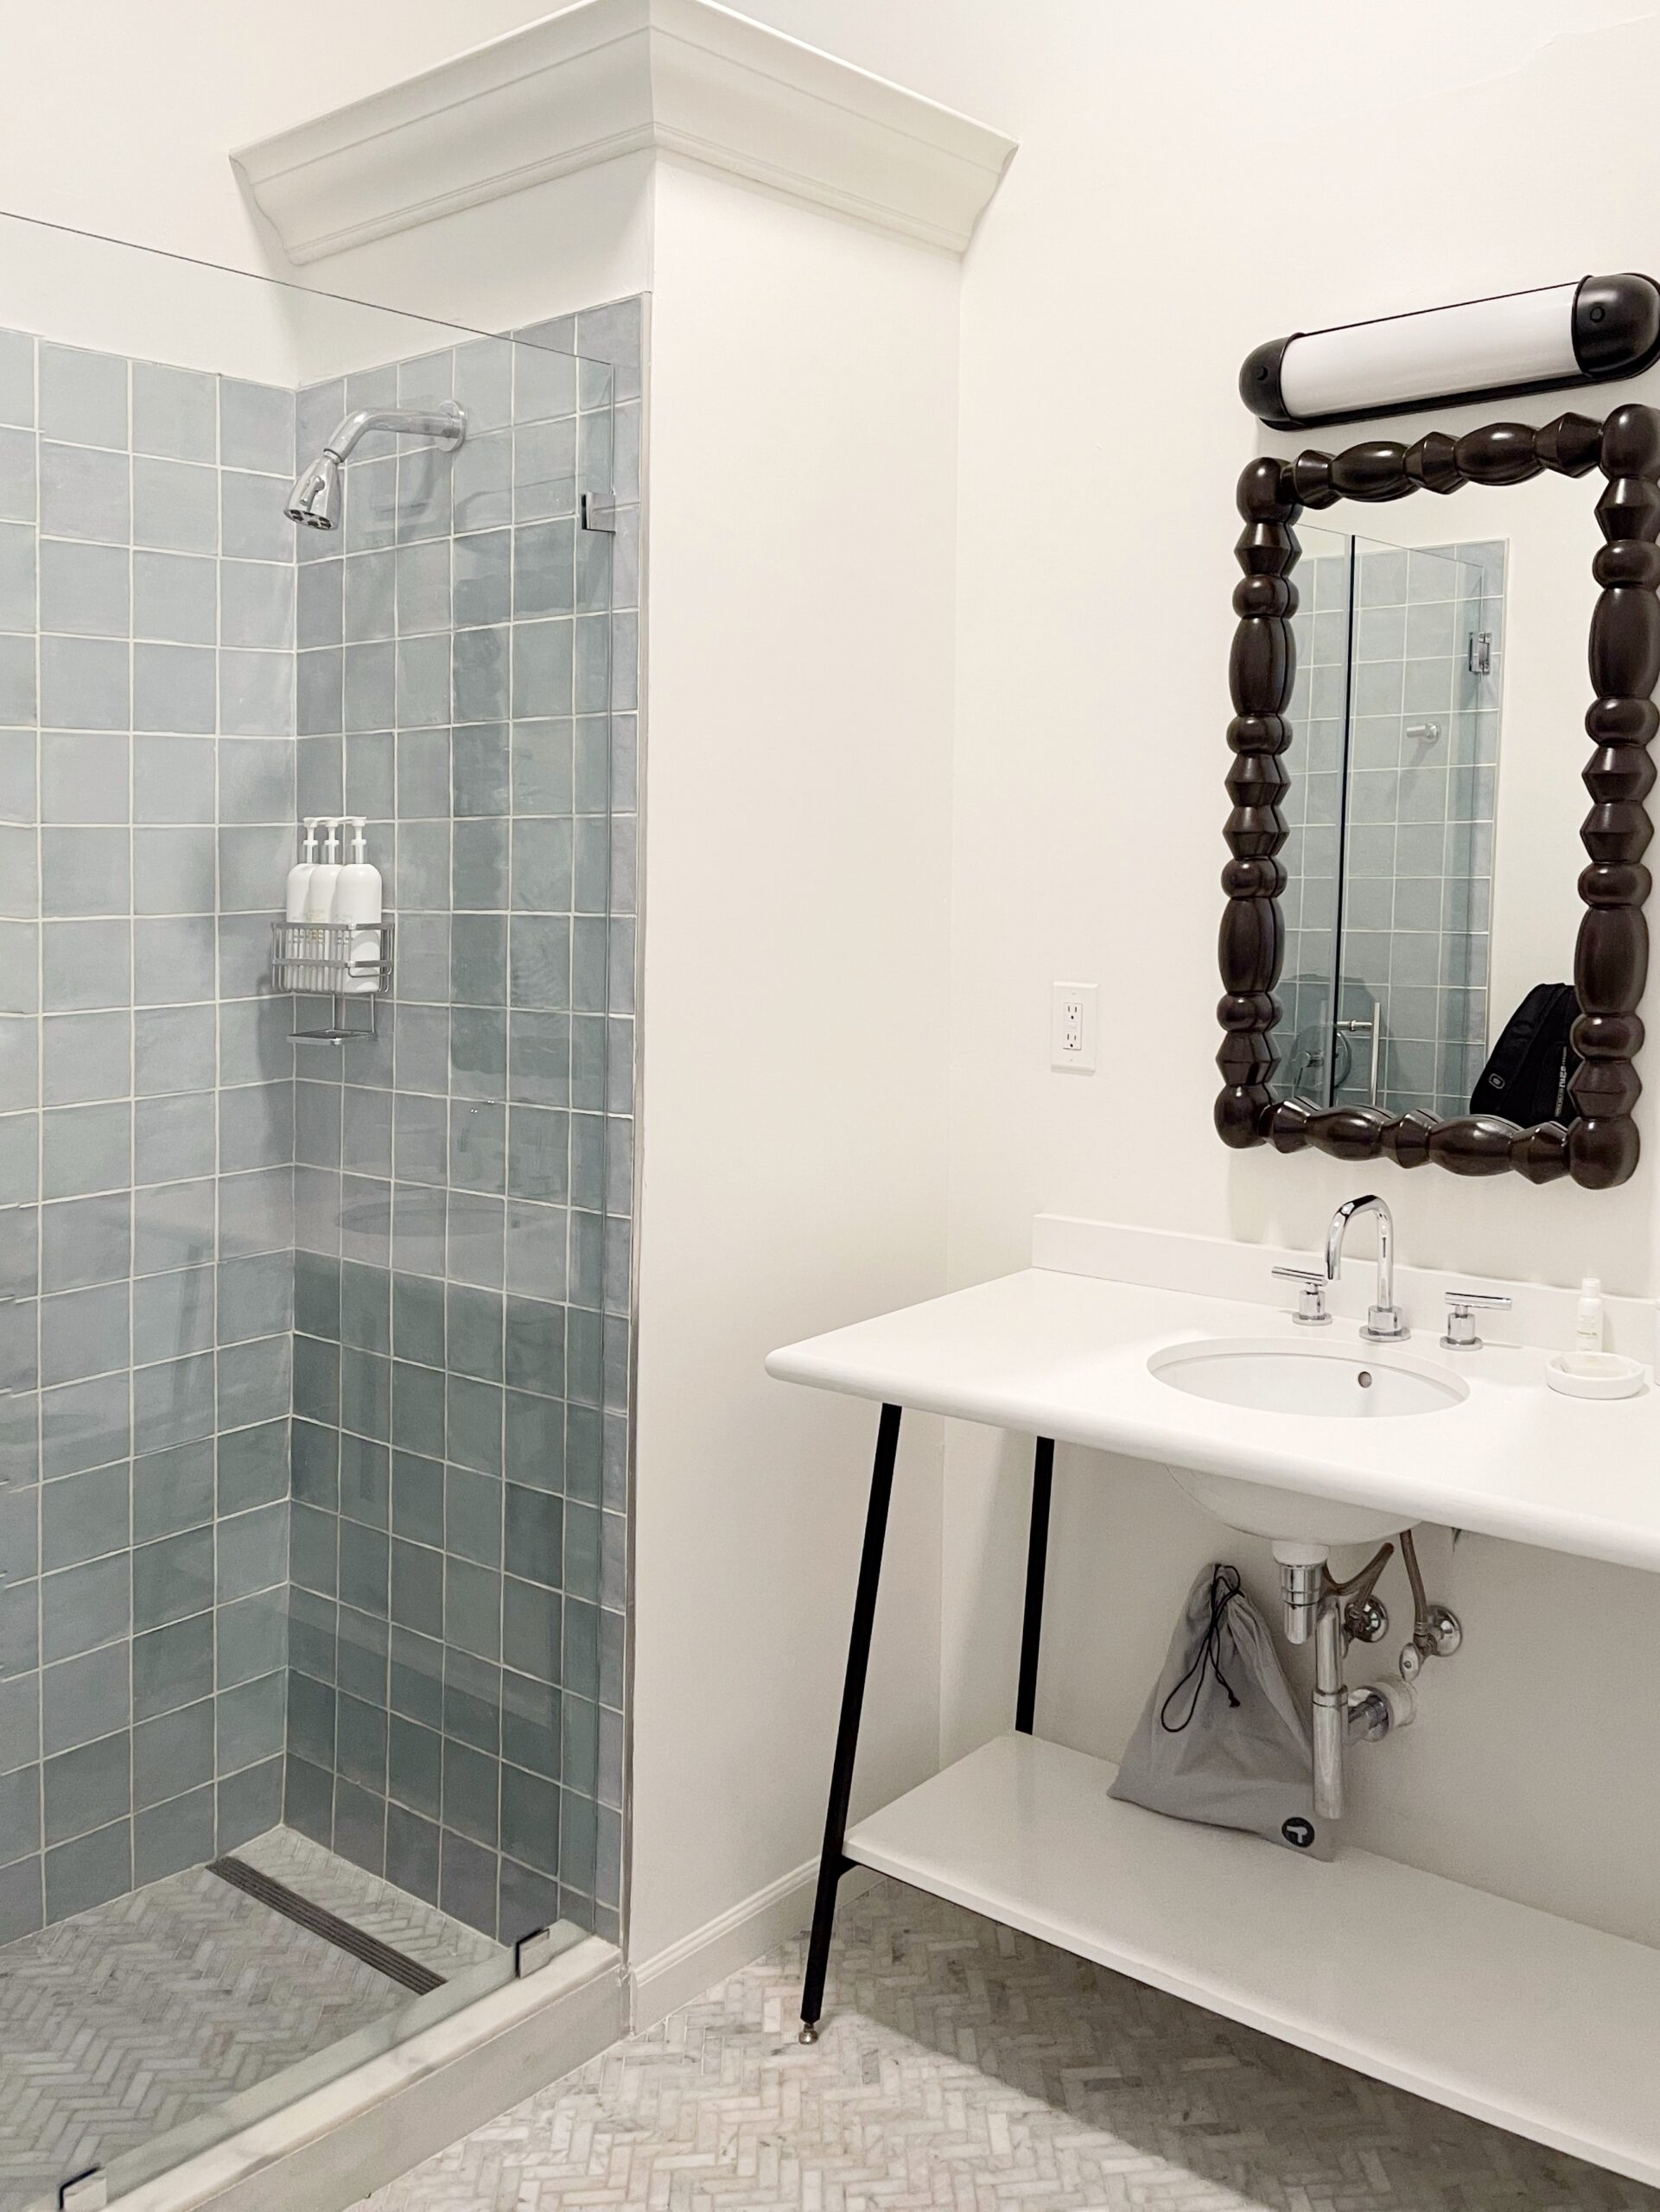
For our master bathroom renovation, I selected a design that will withstand the test of time. I wanted a design that is both on-trend and timeless. I selected 2×6 in Snow White Zellige Tile for our walk-in shower and paired it with Carrara marble floor tile. A dynamic duo I’m so glad I chose.
Scott and I love to travel together, exploring beautiful places and cultures. We’ve actually lived and traveled Europe, and though we did not make it to Morocco, I’ve found design inspiration from several of the locations we have been. When we visited countries full of history and architecture like Italy, Spain, and Greece, I fell in love with the charm of “old things.” I love adding history in my designs wherever I can. Whether it is an antique buffet or a vintage rug, I always include at least one dated piece in my design. You’ll see several antique furniture pieces in our home and vintage rugs in several rooms. For our primary bathroom remodel, I’m using Moroccan tile to achieve the combination of old and new.
Moroccan tile is hand-cut and handmade – a tradition that dates back thousands of years. The art of making this tile is passed from generation to generation in Morocco by master craftsmen called maâlems. It’s beautifully crafted with imperfect edges that give it a beautiful texture. The color we selected has a pearlescent appearance in the light and reminds me of shells. It is absolutely stunning and I love the history of it!
What is Zellige Moroccan Tile
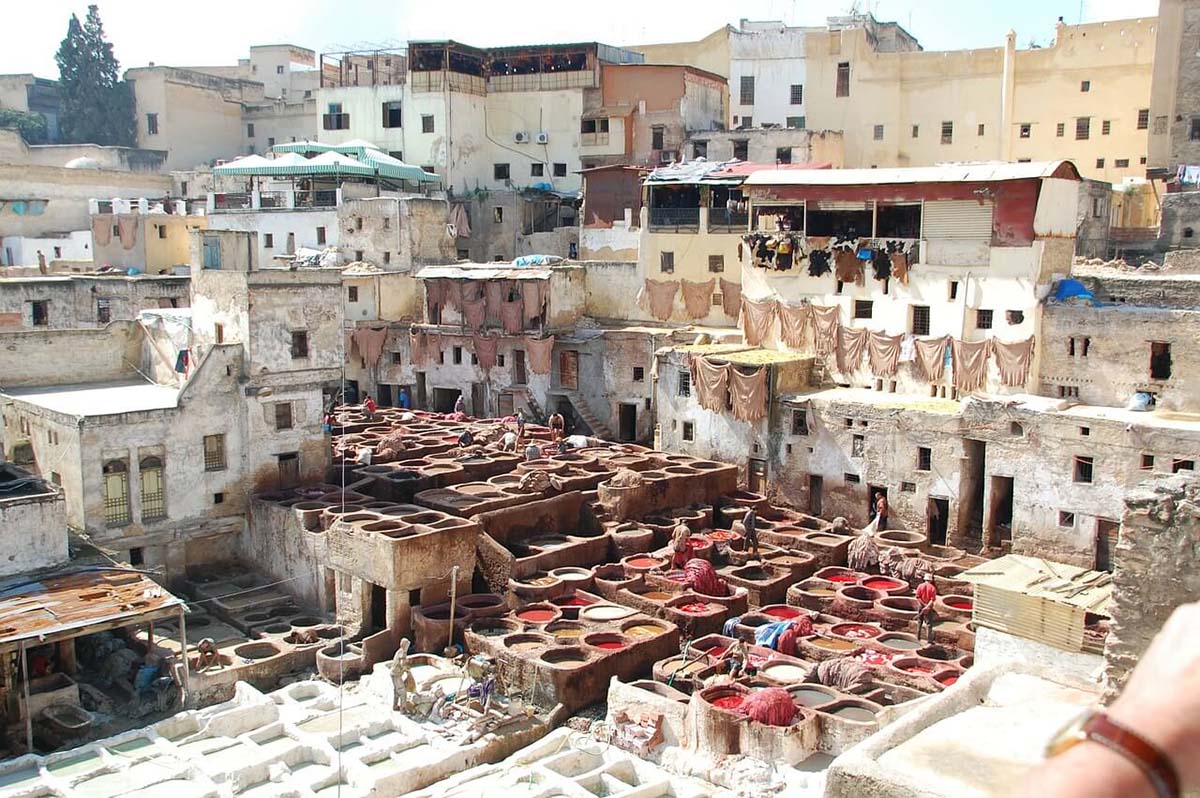
Let’s explore more about the history of this Moroccan tile. Zellige is a type of tile that has been influenced by Islamic, Roman, and Byzantine tile patterns. Beginning in the 10th century, Zellige tile has always been considered an art. This traditional Moroccan tile is handcrafted with non-refined natural clay from the Fez region which I find so intriguing. The closest we ever traveled to Morocco was our last trip to Seville, Spain and I regret that we didn’t make the extra trip!
Fez (or Fes) is located in Northeastern Morocco, which happens to be the third largest city in Morocco. Fez has an old-world atmosphere with beautiful tiled structures that will take your breath away. The world’s oldest university is located in Fez and the city is known for its Fes El Bali walled Medina. It’s no wonder that it has an influence on design trends today. If you’re looking for a tile design with character, look no further!

The handmade process starts with top-quality clay that is soaked in water until it is soft and then filtered by hand. Once it’s shaped, molded, and flattened, it’s kept and stored in a cool, dry place until it’s ready to bake. After drying, it’s hand-painted and placed in a natural wood fire kiln. The heat circulates, giving natural color variations to the tile. Once they’re fired, a glaze is applied by hand to complete the process.
There are a few different shapes and sizes that are most popular for Zellige tile – 4×4 squares and 2×6 rectangles are the ones you will find most often. The colors will range from neutral shades to vibrant hues like pink, teal, and citrus green. The two most common tiles are glazed and unglazed. Glazed finishes are glossy while the unglazed finish is almost matte. No matter which look you choose, you’ll end up with beautiful results!
Will it Be a Trend for 2022?
Over the last several years, this Moroccan tile has made a huge comeback in design. While it has been around for centuries, you will see it popping up all over the place. I strongly dislike using the word trend in design because trends tend to fade over time. However, Moroccan tile is a design I’ve been seeing more and more on my Instagram feed and I predict that it will top the list of trends for 2022. Let’s just hope it stays unique and timeless!
The first time I saw this tile used in person was during our stay at the Post House Inn. The trendy bathroom here had the most beautiful 4×4 glazed ceramic tiles that were aqua. Then fast forward several months, I saw it again during our stay in Key West. Seeing it used in another style solidified my choice for this project. I just had to figure out my design and which tiles to order!
Mixing Different Types of Tiles
When designing a space and using Zellige tile, there are a few things to keep in mind. Will you be mixing in other styles of tile? For our bathroom, I wanted large marble tile on the outside floors and a beautiful mosaic marble tile on the inside shower floor. However, I really wanted the texture and character of ceramic tiles floor to ceiling. Can you pair Zellige with marble? You sure can! Let me give you a few tips next.
When using marble with Zellige, consider the hue of the tile you’re selecting. For us, we selected honed Carrara marble that has minimal grey veining. It is primarily white with a touch of cool tones. When paired next to the Zellige, it flows nicely. It mostly depends on your personal preferences!
Installing Zellige Tiles
Have I convinced you yet? Before you jump in and decide to do it yourself, let’s walk through the DIY process. I’m going to be honest with you here… unless you’re realllllly good at DIY, you might need to leave this one to the professionals. I would not recommend installing Zellige tiles on your own, especially if you’ve never installed tile. These handcrafted tiles are tedious to install because they require a little bit of pampering. It’s not impossible, but just be prepared about what you’re getting yourself into! I warned you, now here’s how you can do it yourself!
- Plan – Measure for tiles needed by determining square footage and allow for overage.
- Prep – Create a safe work environment and waterproof if necessary.
- Soak – Have buckets of water to soak the tiles for 1-2 minutes before laying them.
- Make Cuts – Be prepared to cut tiles with a saw and or tile cutter.
- Lay Tile – Apply adhesive to wall and back of tiles. Use 1/16″ spacing or butt joints.
- Grout – Spread grout over tiles, filling spaces. Remove excess grout with a sponge and water.
- Seal – Seal unglazed tiles and seal grout for longer lasting and protected product.
How to Measure for Tiles Needed
First, measure the square footage needed. To do this, simply measure your floor space and multiply the length by the width and you’ll have the square feet. Length (in feet) x width (in feet) = area in sq. ft. It’s recommended to order at least 10% to 15% overage to reduce the risk of holding up a project and having to order more tile. Make sure to inspect your tile when it arrives because it can become damaged in transit (this happened to us and we had to order more tile, so don’t let it happen to you). Also, this tile is supposed to have imperfections, cracks, and chips, so if you plan to hand-select perfect tiles, you’re going to need to order more boxes.
Prep for Installation
First, evaluate the space you plan to install this tile. Are you installing it in a space with constant contact to water, like in a pool or pond? These tiles can be used basically anywhere tiles are used, but you need to make sure you select the correct tile and prep the surface as recommended by the specific tile company.
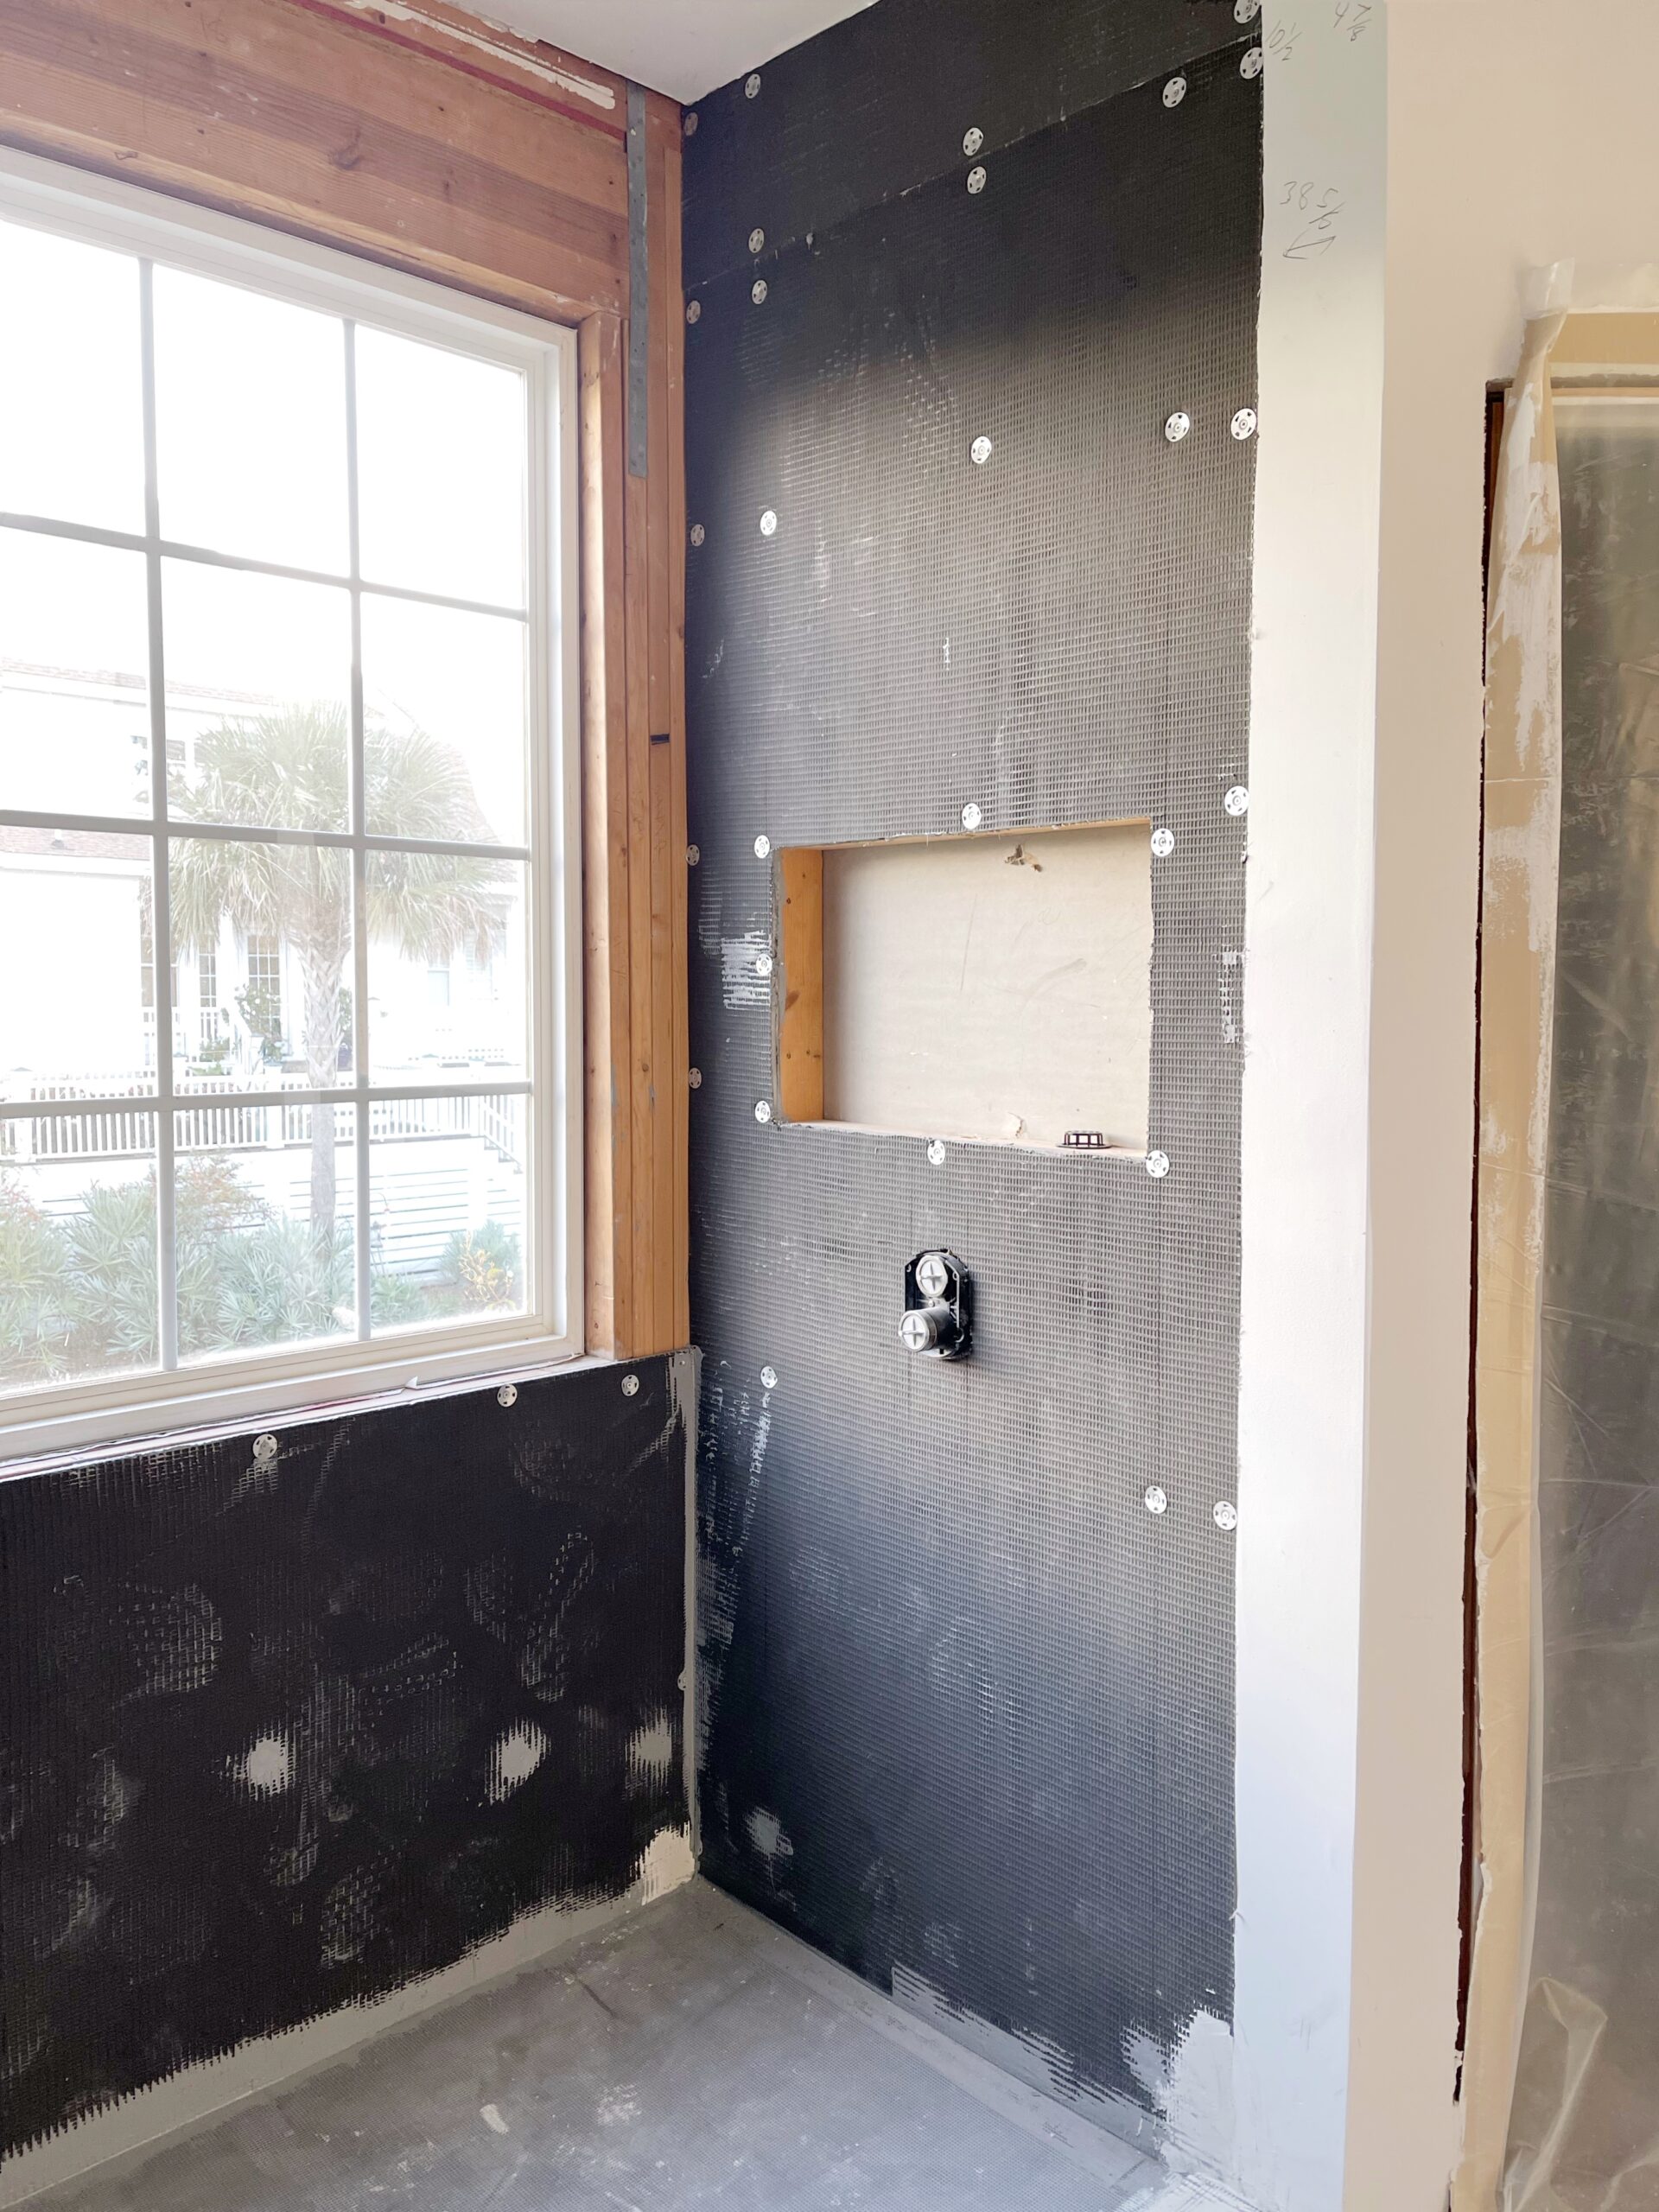
Walls must be level and free of any dust and debris. If they’re in a space with water contact, the surface should be waterproofed. Be sure to use only adhesive cement and grout fit for wet spaces. Our shower has a window, so we were extra careful during prep to ensure the space was waterproofed. We also installed a linear drain, so our shower floor is sloped to ensure proper water drainage. All of this is important to note because extra prep was necessary to create a level tile surface.
The Moroccan tile boxes are heavy, so be prepared to have help with lifting them. Also, it’s recommended to select tiles from various boxes, or blend the tiles, to guarantee the best variated look. You’ll need several boxes in your working space to ensure you get a great look!
Soaking Zellige Tile
You’ve received your tile and you’re ready to install it, don’t miss this important step! Due to the natural porous state of zellige tile, soak for 1-2 minutes before laying them. When you place them in the mortar during the application process, they will soak any moisture away from the mortar, leaving it dry and they won’t adhere to the walls. To avoid this, you will need to soak small batches of tiles while you’re installing the tiles.
Laying Tiles and Making Cuts
After you’ve soaked the tiles, apply a single layer of adhesive to the wall and another single layer of adhesive to the back of the tile. Place the tiles into the wall adhesive, using wedge spacers as you go (optional). The installation guide for most of these tiles recommends butt joint spacing, but then you end up with very uneven spacing. While that looks great in some settings, we opted for self spacing at 1/16″ spacing and used spacers in some areas.
In the insert, it says you can use a tile cutter to cut the tiles, wet saw, or diamond disk. I’ll never forget trying to use a tile cutter with subway tile in our kitchen. It was a nightmare. You’ll need a SHARP blade to cut the thickness of this tile. We designed a window and niche in the shower, so mitered edges were preferred. Trim is not recommended with zellige tile, so we mitered the outside tiles to create a beautiful and uniform edge.
Grouting
For our glazed tile, Mapei Ultracolor Plus FA is recommended. Avoid selecting a contrasting grout color since it will highlight the imperfections and fill in any cracks to say the least. We selected Bright White grout to pair with our Snow White tile. It is absolutely beautiful!
After the adhesive has dried and tiles are set, spread flexible grout over the surface making sure that the spaces between the tiles are completely filled. Then, wipe off the excess grout with a damp sponge or cloth. Inspect closely to make sure all spaces are filled and excess grout has been removed. Finally, seal the grout and tile. This step is optional with glazed tile, but we decided to seal the grout and will repeat annually to ensure it stays white and bright without the risk of stains! For unglazed zellige tile, use a penetrating sealer to protect the tile prior to grout and again after grout. We have four young kids at home (if you include my husband) and I’m not even trying to deal with stains in my precious new tile so we sealed it well.
Cleaning and Maintaining Moroccan Tile
Glazed Moroccan tile is low maintenance without a lot of fuss. Mild soaps or neutral cleaners should be used for cleaning the glazed tile. Use a pH-neutral soap and clean with soft material like a soft brush or cloth. Avoid coarse materials. Grout should be cleaned with warm water and a soft brush. Clean up any spills immediately. If you use unglazed tile, you will need to seal it routinely. It is normal for the tile to wear with time and this gives it a natural patina and character. Again, do not use this tile in an outdoor setting that experiences freeze and thaws.
Frequently Asked Questions
Do you have your heart set on using this beautiful Moroccan tile but you still have a few questions or concerns? Here are a few of the most frequently asked questions when installing Zellige tile.
- Is zellige tile expensive? Labor is more expensive because it takes a lot longer than average to install. You will need a skilled tile installer that is familiar with this tile.
- Can it be used on floors? Zellige tiles can be used for floors, just avoid areas with heavy impacts and high traffic.
- Are Zellige tiles hard to clean? Zellige tiles are not hard to clean, they’ve been used for centuries and they’re made to last. Due to the uneven edges, a cloth or sponge might get snagged.
- What kind of grout to use with Moroccan tile? Avoid contrasting grout with zellige tile, it will highlight the imperfections, cracks, and veining. Mapei Ultracolor Plus FA is recommended for glazed tiles.
- Can I put Zellige tiles in my pool or use them in landscaping? You can use glazed zellige tiles in climates that do not experience freeze and thaw. UV exposure will not harm the tiles. They’re not recommended for areas with heavy traffic.
- Is Zellige tile terracotta? Yes, Zellige morrocan tile is a terracotta material. It is hand-cut and handmade by clay.
- How do you space Zellige tile? Each company has different recommendations, but most recommend a butt joint, which means they’re placed right up against each other. We opted for self-spacing to make it look level and equal throughout.


LOVE IT