How to Refinish an Antique Writing Desk
This post contains affiliate links, please read my disclosures here.
If you love the thrill of a thrifted find, you will love the story of this antique desk makeover. I found this gorgeous piece at a local secondhand store and immediately had a vision in my head for it. I’ve been wanting a desk like this for years and with my office renovation going on it seemed like the perfect time to DIY the desk of my dreams.
My love of refinishing thrifted furniture runs deep and my absolute favorite thing is sharing tips and tricks with you all to tackle your own DIYs! Keep reading to learn all about this gorgeous natural wood desk and how I refinished it, added a quartz top, and styled it in my coastal home. Don’t miss my tips for DIY-ing thrifted furniture to create the prettiest looks for less that you will love for years to come!

This thrifted desk is a replica George Washington writing desk that holds value as an antique. While I’m not restoring it and likely devaluing it’s worth, I love the end result for my home and style.
Refinishing the Writing Desk
When removing the finish from a piece of furniture, there are several methods you can follow. I have tried many of the methods and continue to try more. For this desk, I wanted a very specific look that is achieved with uncommon methods. Read more about how I stripped the finish from this antique desk for an aged and coastal look.
Furniture Tutorials


Oven Cleaner Method
I found this antique writing desk at East Cooper Home Store in Mt. Pleasant, SC and immediately fell in love. Once I got the piece home, I sprayed on fume free oven cleaner using the “oven cleaner method” and left it out in the sun for a few hours to see if that would do anything to remove the varnish and orangey-red stain.


Then I sprayed it with water (I always try to catch as much run off in a basin as I can), gave it a good scrub with a brush and Dawn Power Wash dish soap, and let it dry in the sun. Luckily, those steps gave me the perfect “Coastal Oak” color I was looking for and I didn’t have to do any further bleaching. You can read about my other favorite methods for stripping furniture here!


Sanding the Desk
The oven cleaner method can be a bit rough on furniture and any time you rinse wood with water it will raise the grain. To get a smooth surface, I used my SurfPrep to lightly sand the legs and base of the desk. This sander is incredible because it has “squishy” foam like sanding pads that work great for detailed areas. I own the 3×4″ electric ray sander and the vacuum as well.
Save 10% off your SurfPrep Pro purchases using the code COASTALOAK10.


A tip for sanding furniture, always start with a higher grit then go down in number as you work to avoid damaging the wood (lower grit = coarser, higher grit = smoother). Also, once you’ve removed the finish. you can slowly increase grits in increments to buff a piece and prepare for stain or sealing.
Sealing Furniture
A lot of times, I’ll seal my projects with General Finishes Flat Out Flat because I love that it doesn’t change the color of the wood. I didn’t seal this piece because I needed to figure out what I was going to do with the top first and wanted to see it in my office before making any final decisions. You’ll find a detailed tutorial for sealing furniture in this blog post.
Removing the Top
After bleaching and sanding the desk, I didn’t know what to do with the “wings” on the top. This is an antique writing desk and I loved the character they added, but wasn’t sure how practical they would be for every day use in my office. To be honest, they really bothered me and I just wanted them gone. I went back and forth for awhile as to whether or not to keep them, but ultimately decided to remove the wings.
Using my favorite trim puller and a mallet, going around the piece, I pried the top off. Once it was removed, I was able to save the top so we could measure for the next step.


Once I removed the “wings,” I discovered that there was a veneer strip along the edge of the desk underneath where the wings had been. I definitely didn’t want to repair the veneer, as that can open up a whole different set of problems.
I played around with adding a new wood top to cover it, but loved the idea of using marble or stone instead to make the desk a bit more unique. This solved the issue of hiding the veneer and gave me a more durable desk than I would’ve otherwise had – that’s a win-win in my book!

Sourcing the Quartz Top
I initially wanted to find a marble top for the antique writing desk, but once I did some research I decided that quartz would still give me the look I wanted with more durability and at a lower cost. While marble is a natural stone, quartz is actually manmade or “engineered stone.” Quartz is, however, made from quartzite, which is a naturally occurring stone that is ground into a fine powder and mixed with resin and pigments to resemble natural stone slabs.
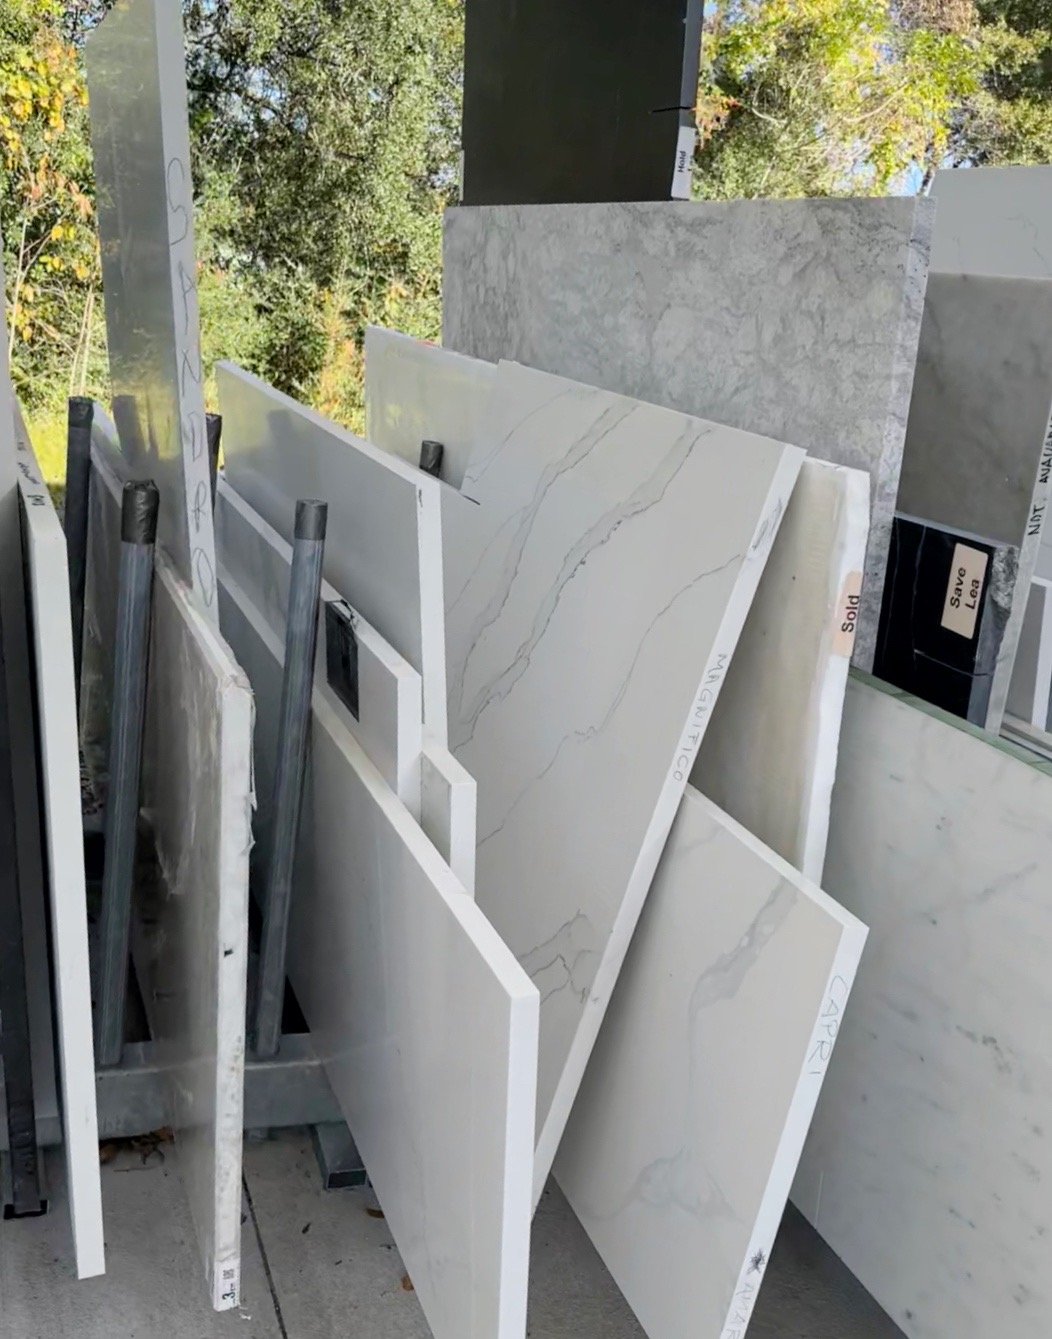
Marble is porous, which makes it more susceptible to staining and etching – quartz doesn’t have this issue and is less likely to crack or chip, which made it a better choice for a desk that would be getting a lot of daily use. While I loved the natural variation and luxurious touch that a marble top added, I just didn’t feel comfortable using it for my desk top and didn’t want the extra upkeep that came with.


I found a quartz remnant (which is much cheaper than buying a full slab!) at a local shop called Granite by Design. They were so helpful and were able to measure and cut the remnant for me to perfectly fit the desk. I even had them do rounded corners on the desk top to make it a little more unique and I’m obsessed with the end result! What do you think? I’m loving this marble desk look for less!
Polishing Hardware
The hardware was my last issue when refinishing this gorgeous antique writing desk. I initially tried to remove the pieces so that I could really scrub and get them back to their natural beauty, but I just couldn’t get the hardware to budge. It has 28 pieces of cabinet pull hardware and only eight of those could be removed. That means I had to clean the hardware while it was still on the piece, making it tricky.


I ended up leaving the hardware on and (carefully) using Bar Keeper’s Friend to polish it with this scrubber brush from Amazon and water. I was a bit worried about water damage on the natural wood desk since I didn’t seal it, but luckily I didn’t have any issues and just made sure to be extra careful. I love how it turned out! The patina and golden tones on the hardware really warm up the cooler colors in the quartz and tie into my office and entire home perfectly!
Shop This Post

Writing Desk Looks for Less
Marble desks have become popular in the home design world over recent years and while I love the look of them, I don’t love the cost. Designers like Bria Hammel Interiors and House of Jade Interiors have reinvented this classic style and brought it back to life by seamlessly incorporating it into more modern homes. Keep reading for a roundup of my favorite writing desks and a few looks for less!

Project Cost
While I didn’t track the costs for the products used to refinish the desk, I can tell you more about the replacing the top. Sometimes DIY goes wrong and you quickly realize you could have just bought a new item for the price of the DIY. In the end, I don’t think I would have found what I was looking for, if I went out shopping retail. The end result here and the quartz top made it unique with a story and so much character.
I purchased the remnant locally and had it fabricated. I showed them inspiration for the corners. The remnant was $100 and the fabrication was $400. At this point I could have replaced with wood but I just knew the stone piece would look the best. I spent weeks deciding and just went for it! They didn’t charge extra for the corners and any stone retailer should be able to create this look. This desk at retail would be over $2000 so I’ll take it as a save.

Natural Wood and Quartz Desk
What do you think? Are you loving this DIY as much as I am? It felt so good to get my hands dirty again and really dive back into furniture flipping. I can’t wait to show you more projects this year and reveal my final office design soon!


That turned out absolutely perfect!!! Great job on this gorgeous, unique piece. ???
What a unique find! I love your desk and putting on a quartz top with those little rounded corners ups the elegance of the piece. It’s certainly the star in your office.